To streamline access to NordLayer apps and the Control Panel, you can integrate Entra ID (Azure AD) single sign-on (SSO). Here's a step-by-step guide to setting it up.
Prerequisites for Entra ID (Azure AD) SSO
- Log in to your Entra ID Panel and navigate to the App registrations section
- Click New registration and name it NordLayer
- Select supported account types and click Register
- In the API permissions tab, click Add a permission, select Microsoft Graph, and choose Delegated permissions.
- Select profile and click Add permissions
- Click Grant admin consent for NordLayer
Ensuring matching claims configuration for Entra ID (Azure AD) and NordLayer
When configuring Entra ID (Azure AD) SSO, it's important to ensure that the claims you select on the Entra ID (Azure AD) side match exactly with the claims you choose on the NordLayer side.
Mismatches can cause issues where Azure AD automatically transmits claims that you haven't selected.
Depending on what claims you want you must do the following configuration:
If you want to use SSO with only email:
- Entra ID: Grant profile permission.
- NordLayer: Select email claim.
If you want to use SSO with only UPN:
- Entra ID: Grant profile permission, go into Token configuration, click Add optional claim, select Token type ID, select upn and click Add.
- NordLayer: Select UPN claim.
If you want to use SSO with both email and UPN:
- Entra ID: Grant profile permission, go into Token configuration, click Add optional claim, select Token type ID, select upn and click Add.
- NordLayer: Select UPN and email claims.
Enabling authentication
- In the Authentication section, Add a platform and choose Web.
- Enter the Redirect URL:
https://auth.nordlayer.com/v1/tokens/oauth/resolution
(optional: check Access/ID tokens under Implicit grant) and save changes by clicking Configure at the bottom
3. In the Overview section, copy and store securely the Application (client) ID and Directory (Tenant) ID.
4. Under Certificates & secrets, select Client secrets and click New client secret. Then, save the Generated Client Secret Value (shown only once).
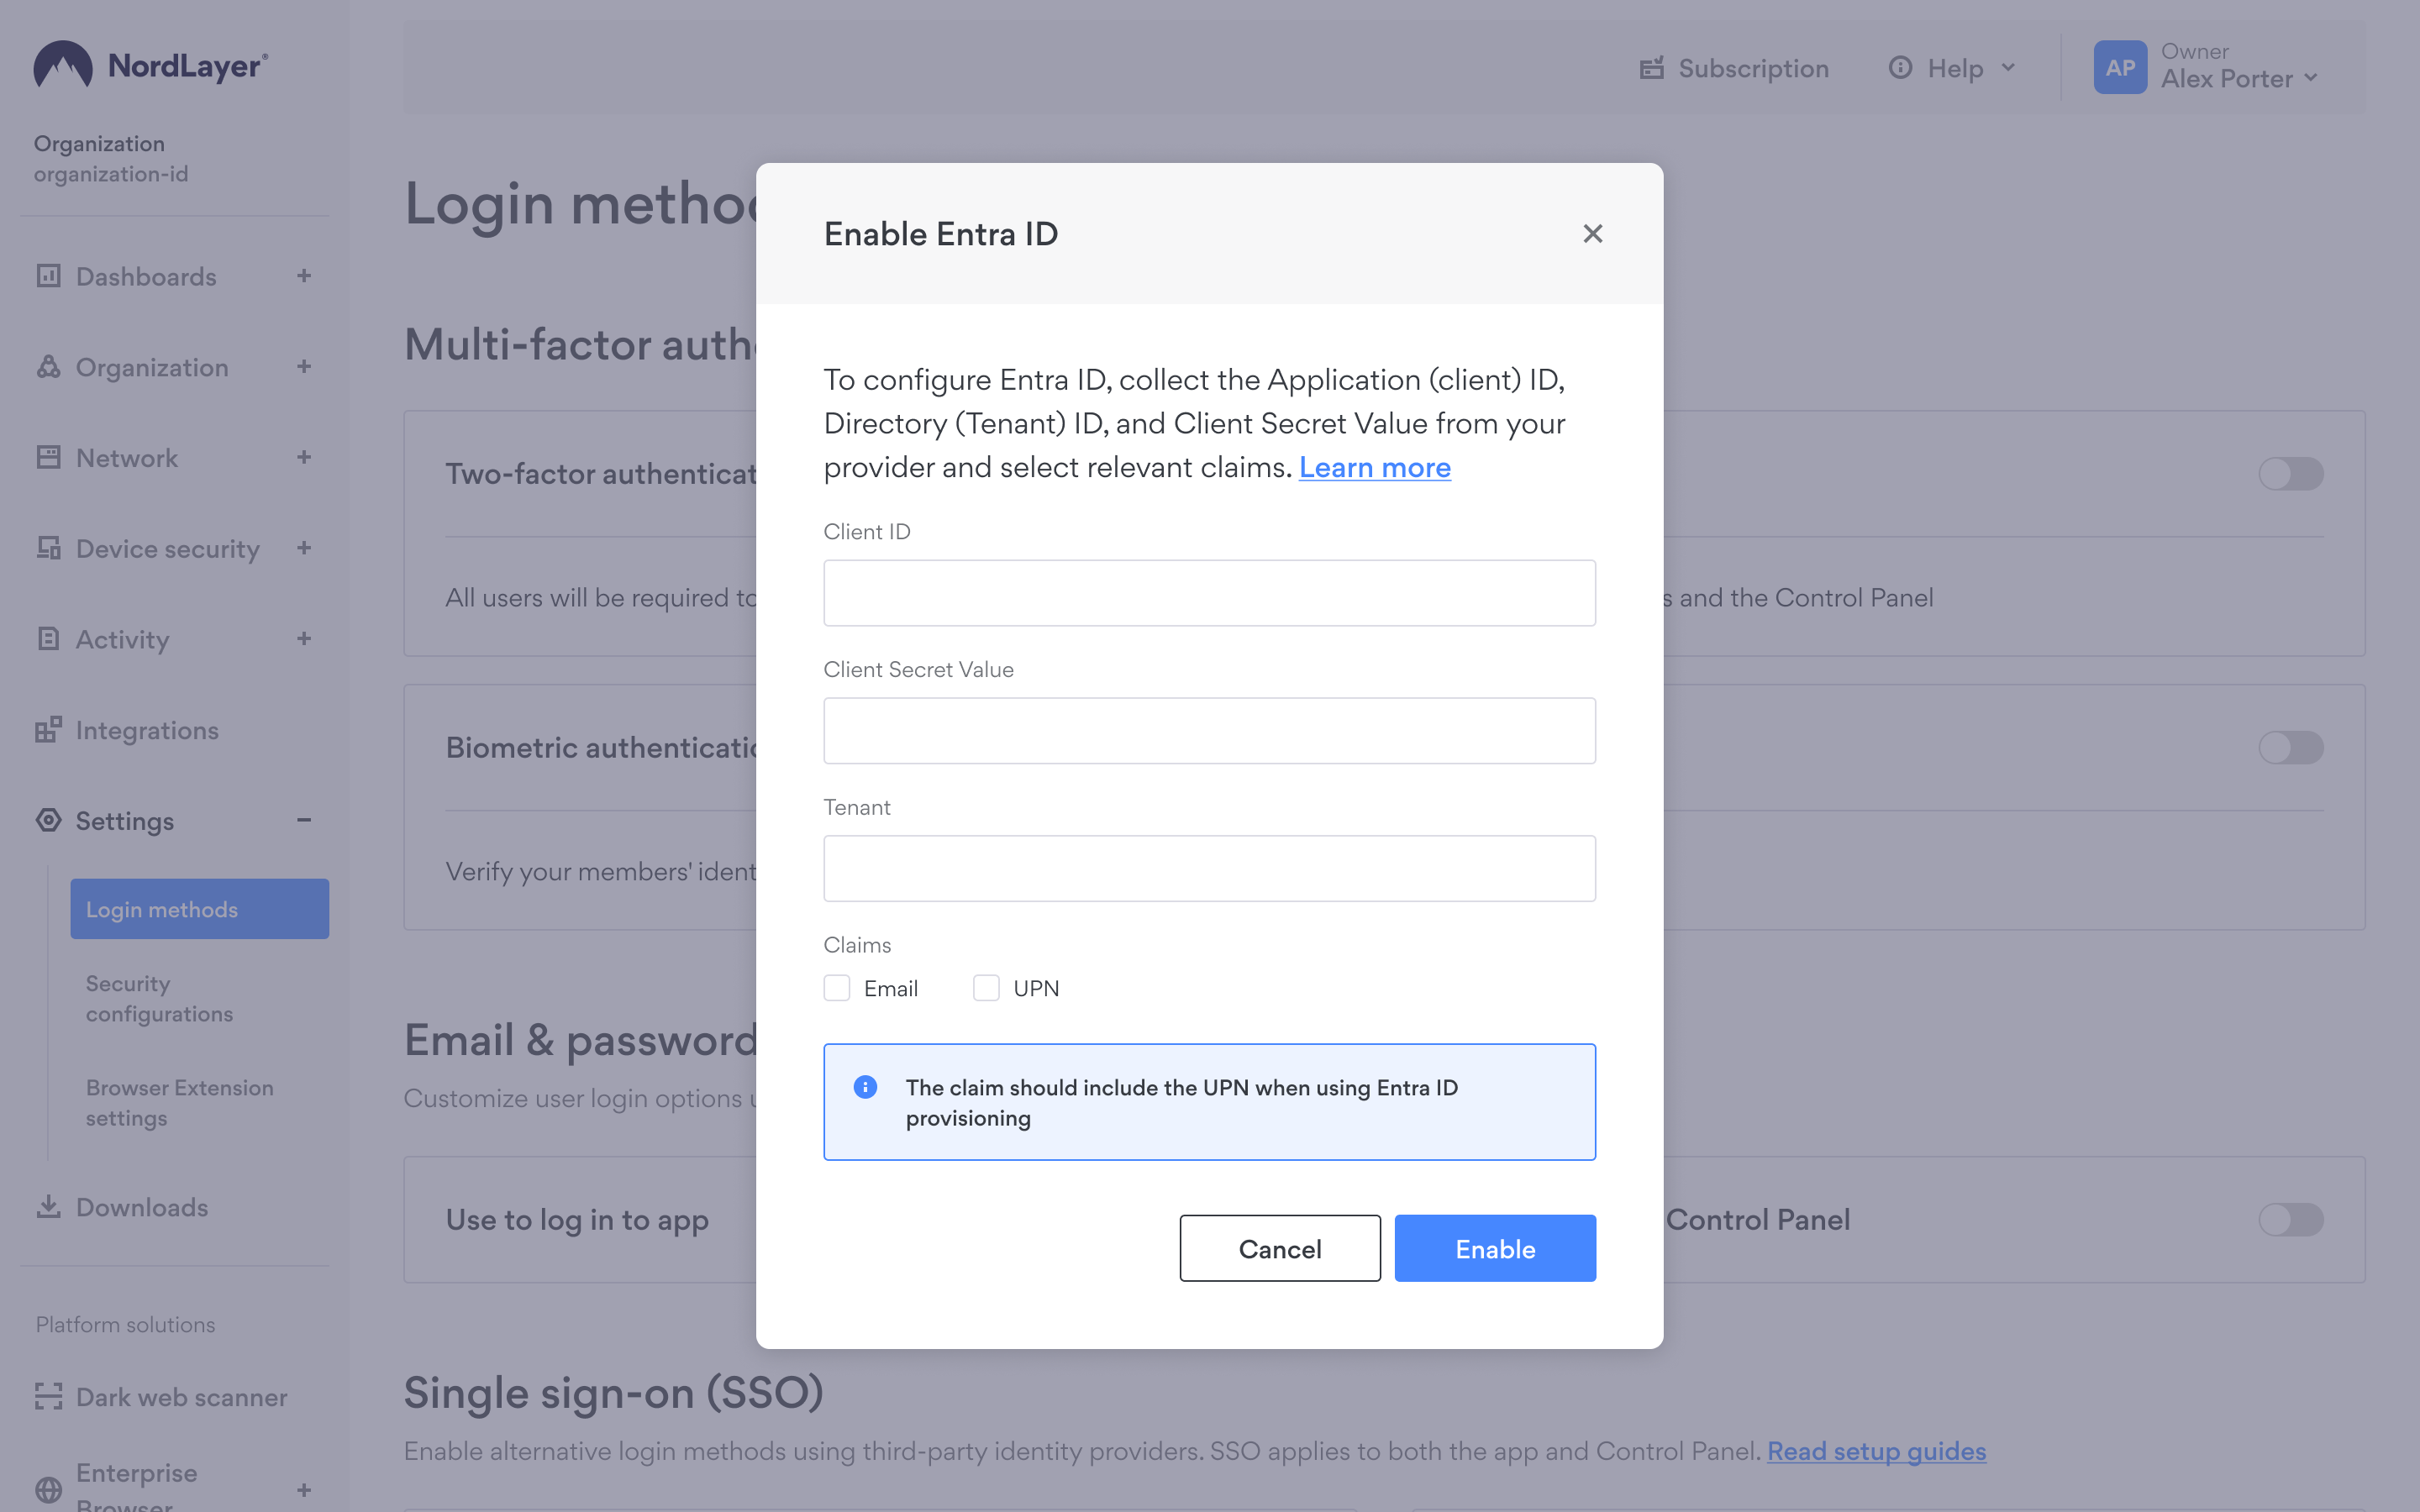
Configure Entra ID (Azure AD) on NordLayer
- Log in to the NordLayer Control Panel and head to Settings and select Login methods.
- Choose Entra ID (Azure AD).
- Enter the three values collected from Entra ID:
- Application (client) ID
- Directory (Tenant) ID
- Generated Client Secret Value

- Submit the information to enable SSO by clicking Save.
- You can update your claims at any time without disabling SSO
- If both UPN and Email claims are selected, the system will read both during the SSO process and attempt to match a member with either claim. The first match found will be used to log in.
- We recommend including UPNs in your selection, especially if Azure provisioning is used.
- Multiple SSO methods can be enabled
- You can remove email & password authentication, leaving SSO as the sole login option
Other available SSO providers include Google, JumpCloud, Okta, and OneLogin. You can set them up in the Control Panel by following these guides:
- Google SSO 3rd party authentication
- JumpCloud 3rd party authentication
- Okta 3rd party authentication
- OneLogin 3rd party authentication
Note: In case you have any questions or are experiencing any issues, please feel free to contact our 24/7 customer support team.