How to set up NordLayer on iOS?
Setting up NordLayer on iOS is easy. Follow these steps:
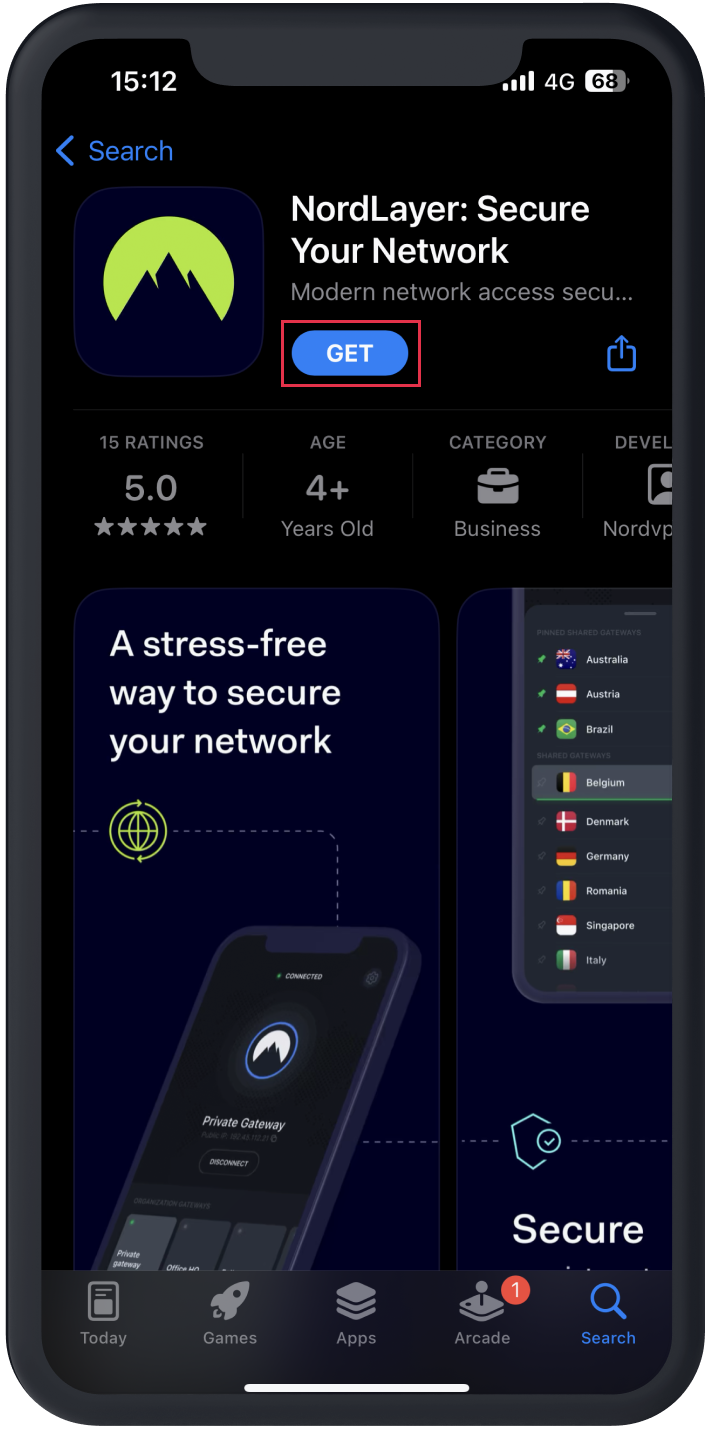
- Go to App Store and search for NordLayer. Tap Get and download the app.
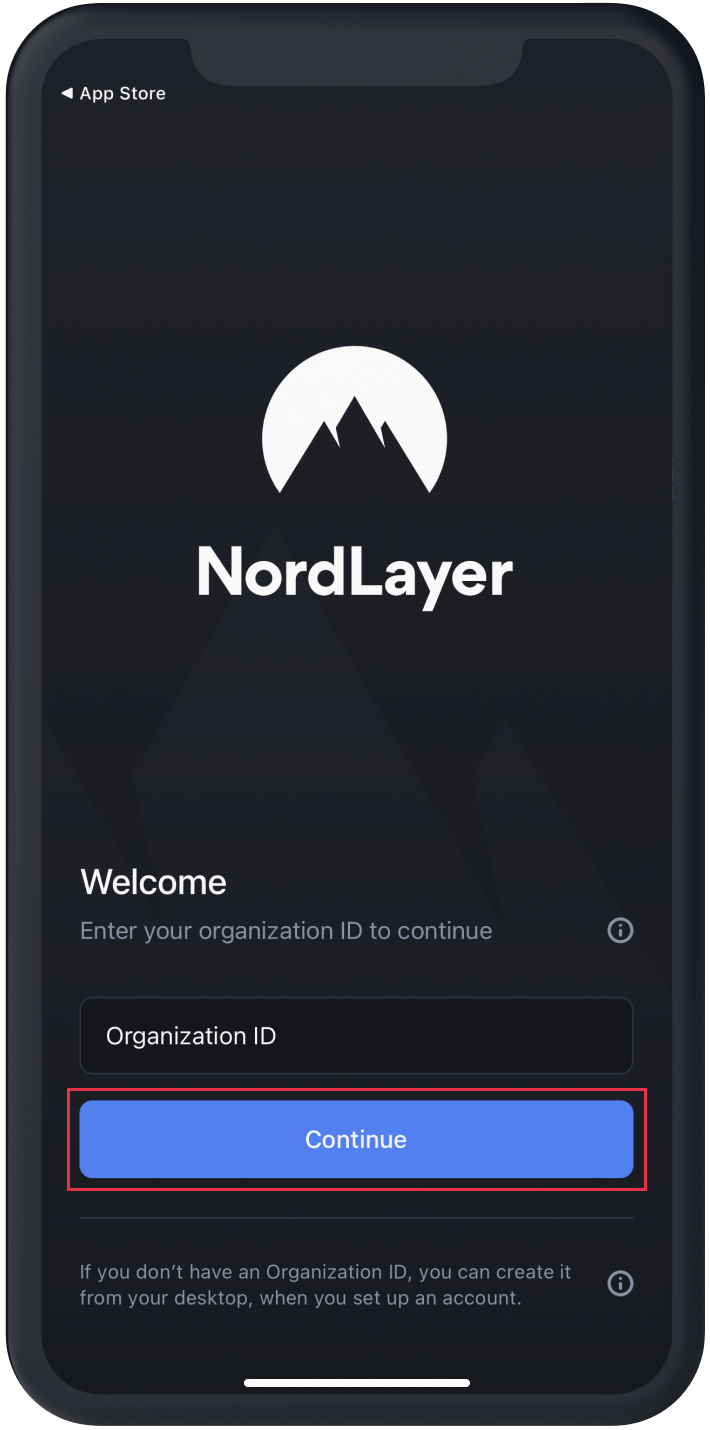
- Enter your Organization ID and tap Continue.
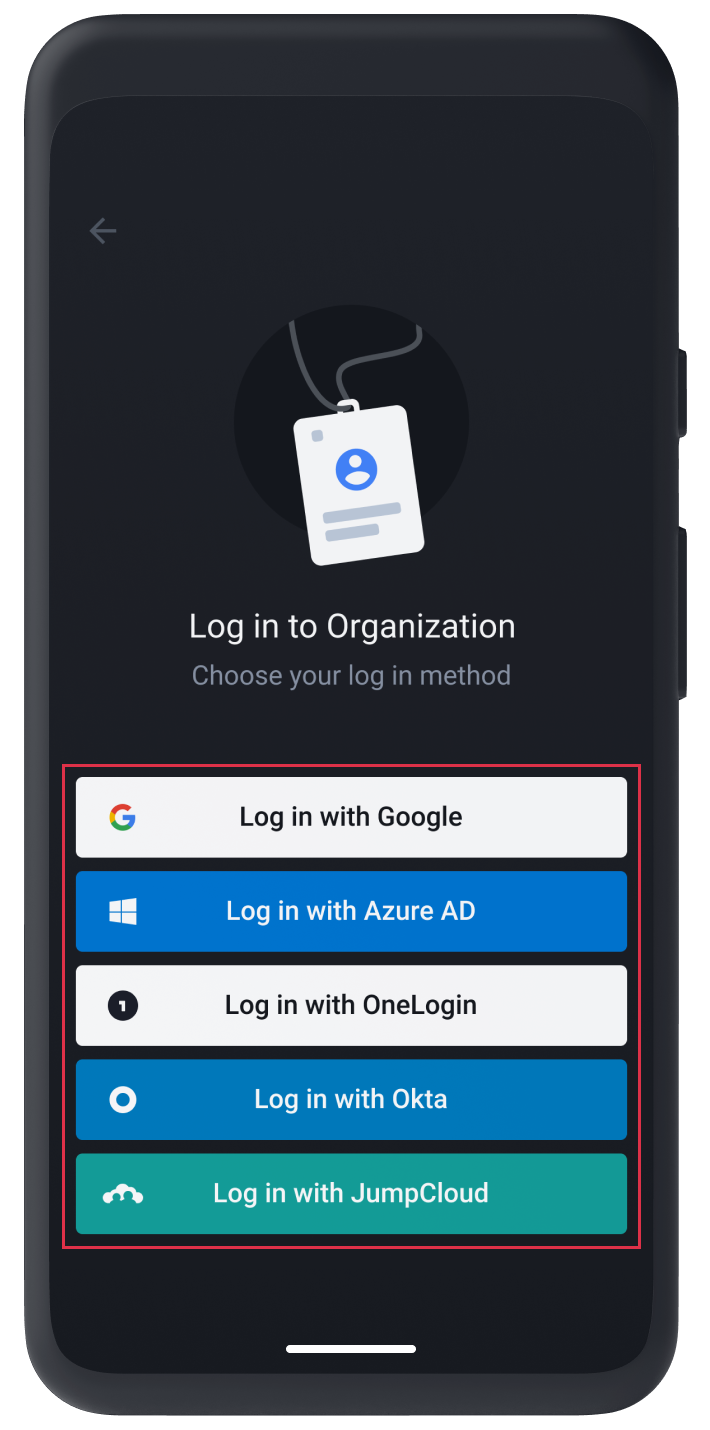
- Log in to your account with SSO or your email address.
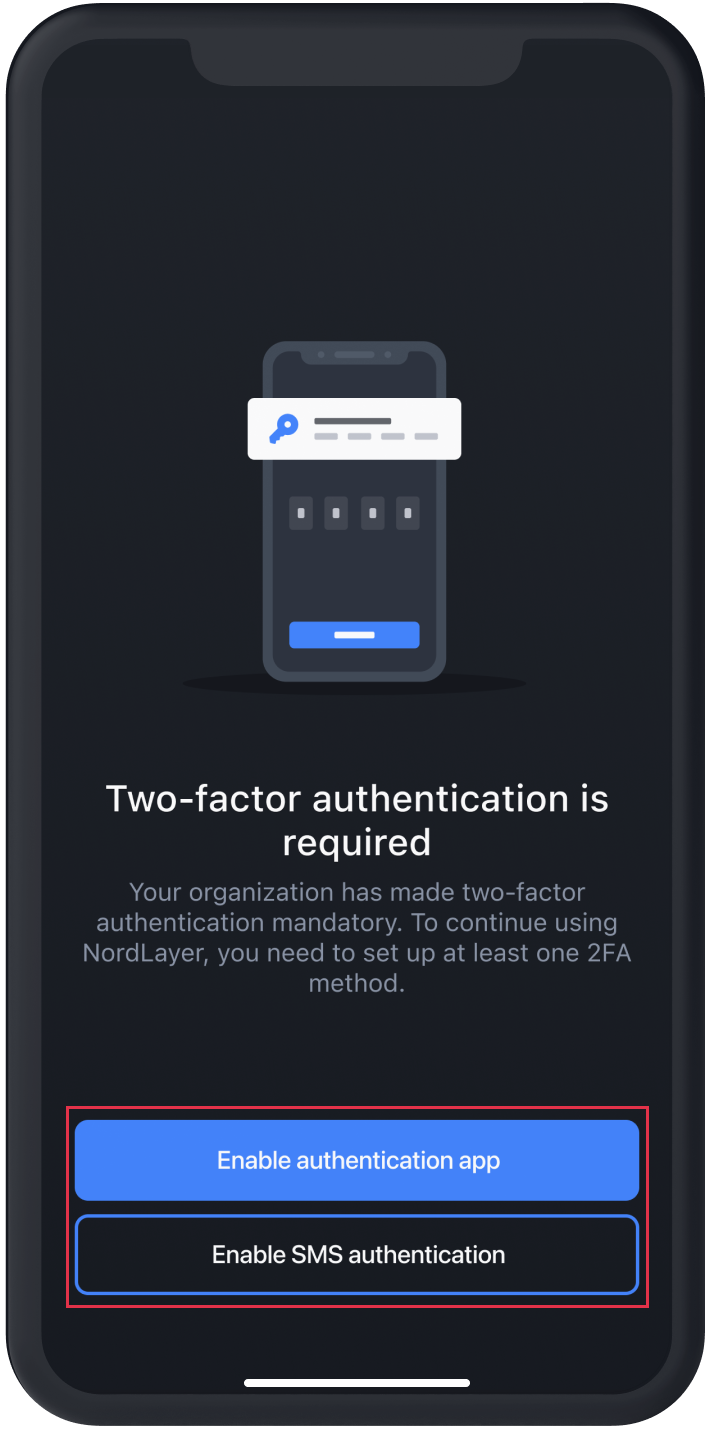
- Enable 2FA authentication if your Organization enforces it.
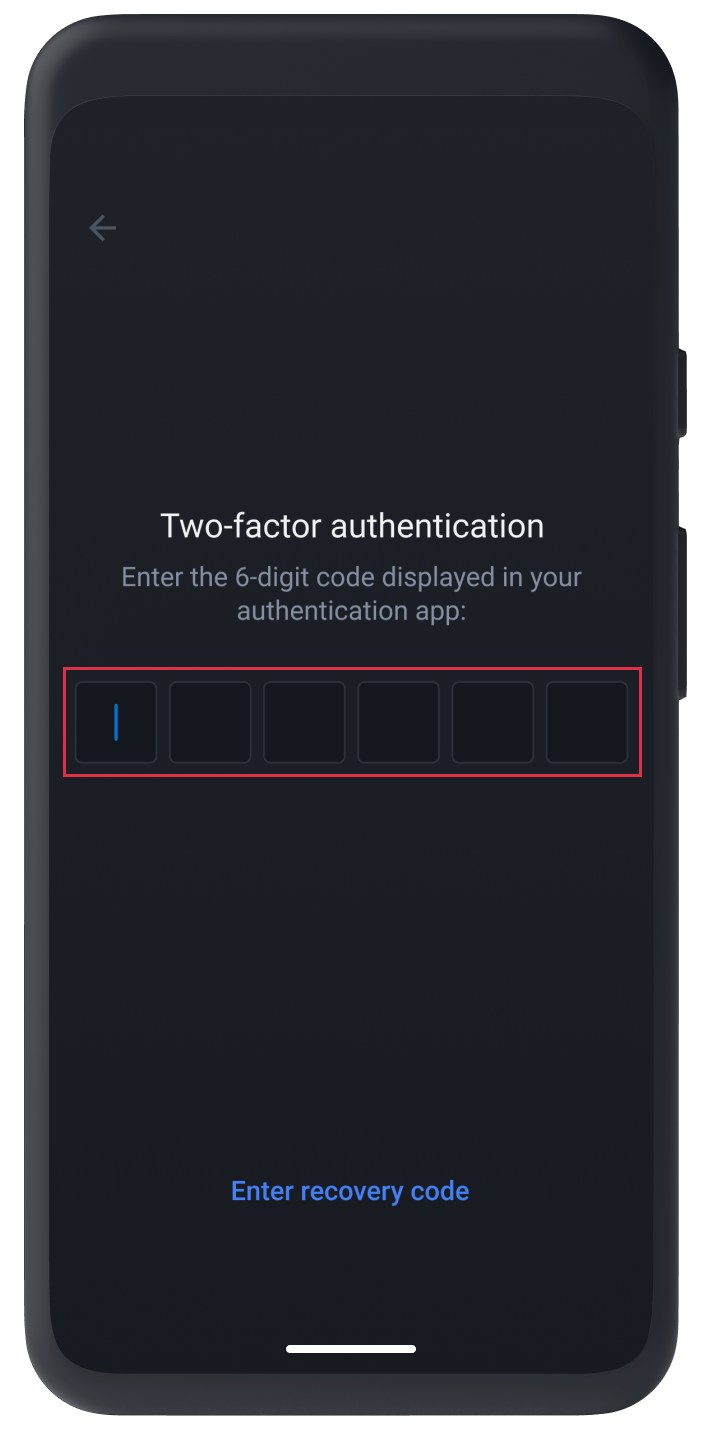
- Enter the 6-digit 2FA authentication code from your authentication app.
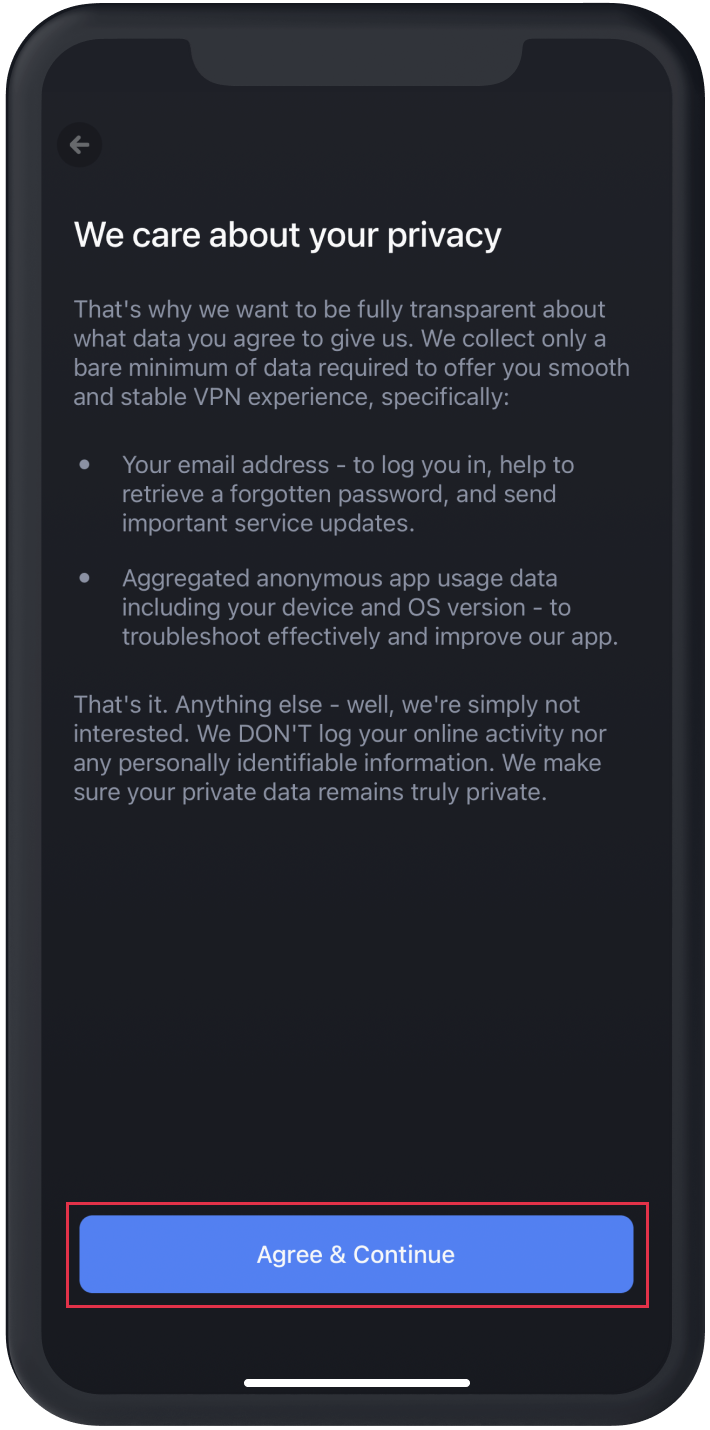
- Tap Agree & Continue to agree with NordLayer’s privacy policy.
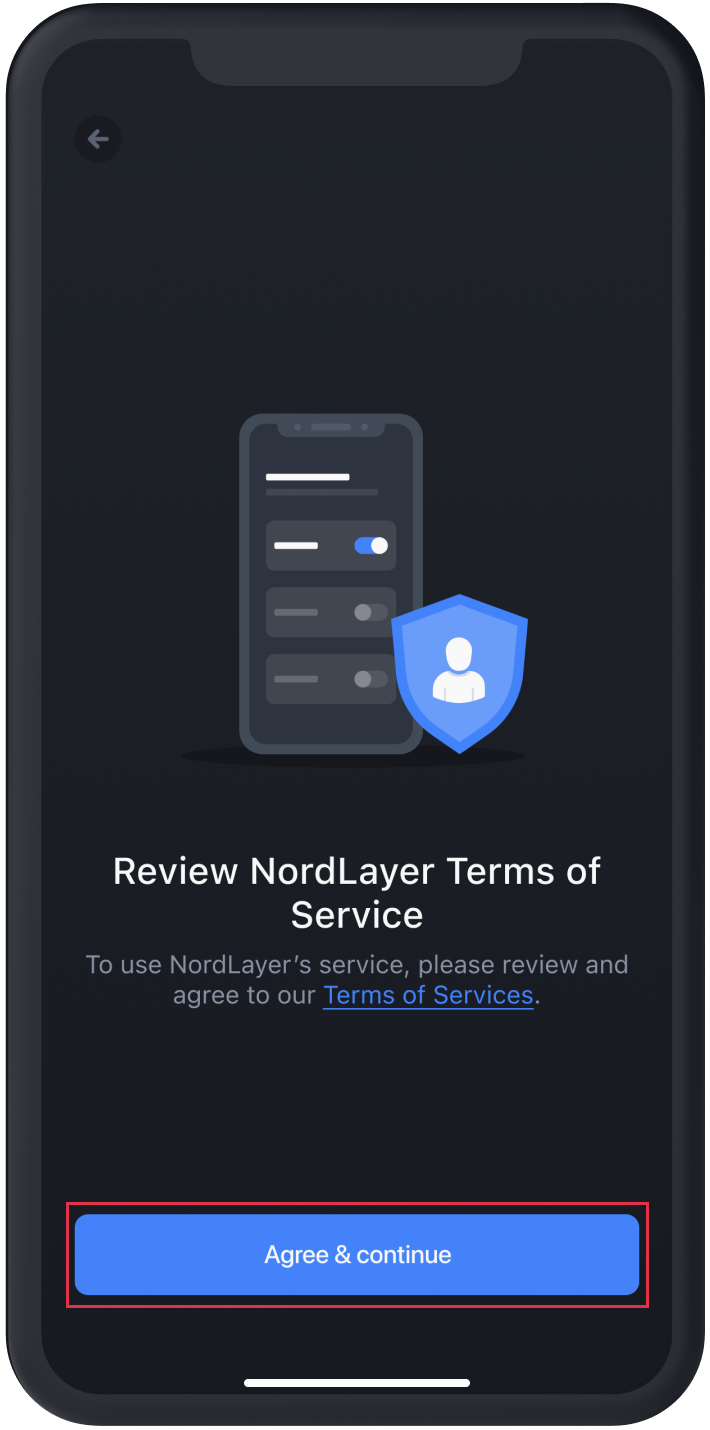
- Tap Agree & continue to agree with NordLayer’s Terms of Service.
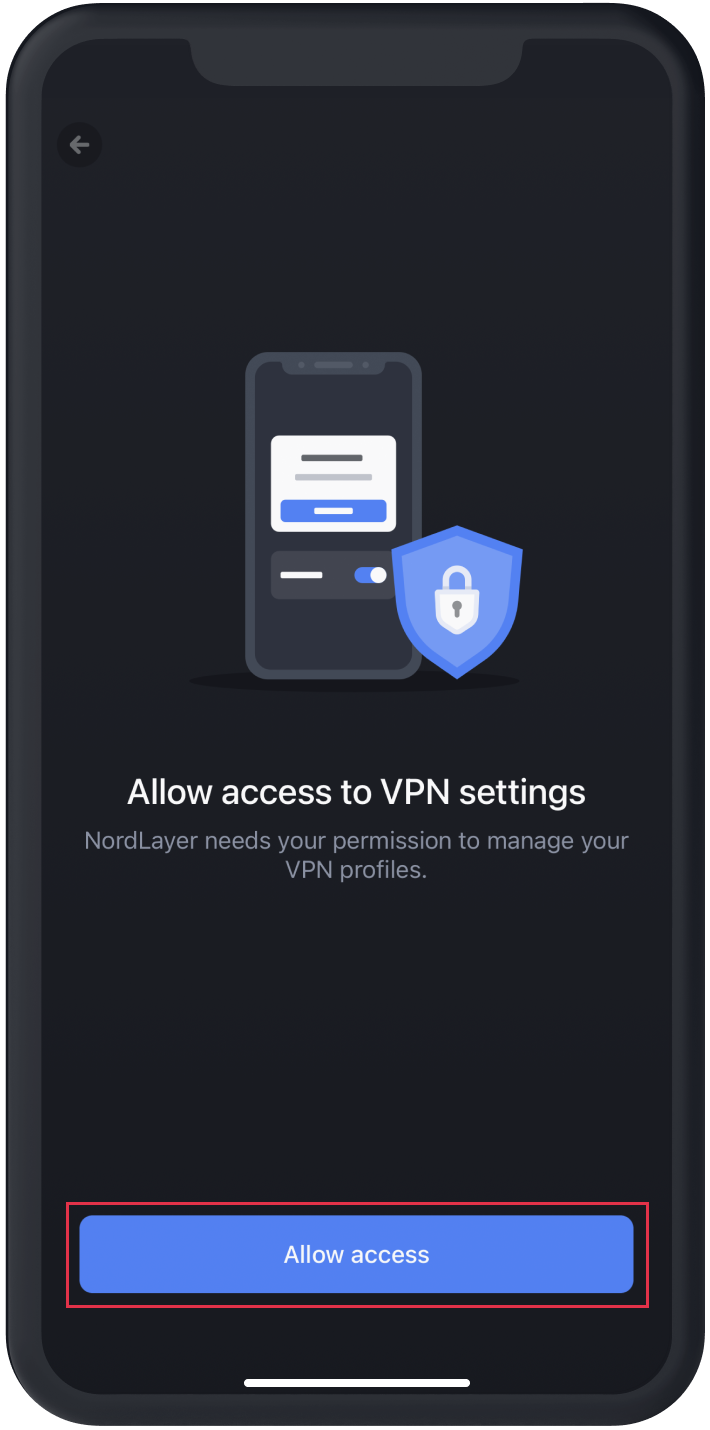
- Tap Allow access to allow NordLayer access your VPN settings.
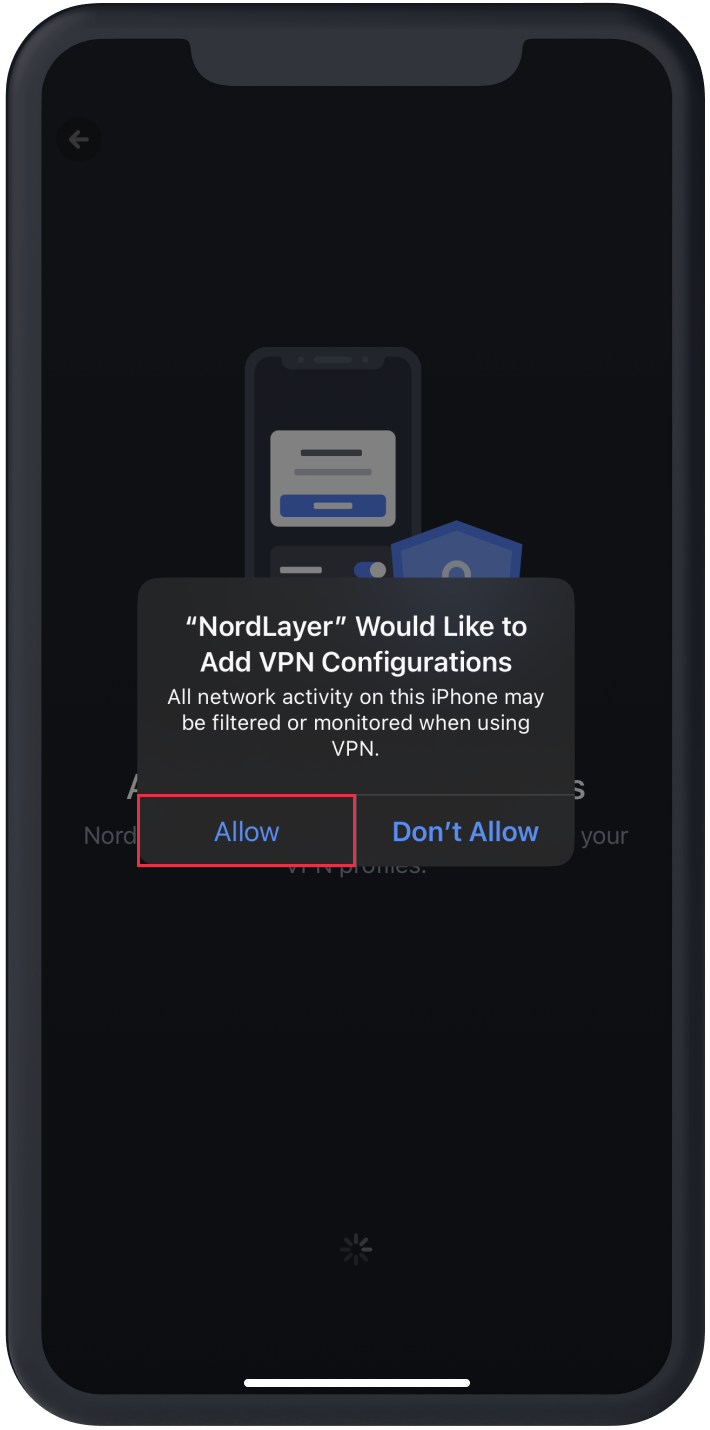
- Tap Allow to allow NordLayer to add VPN configurations.
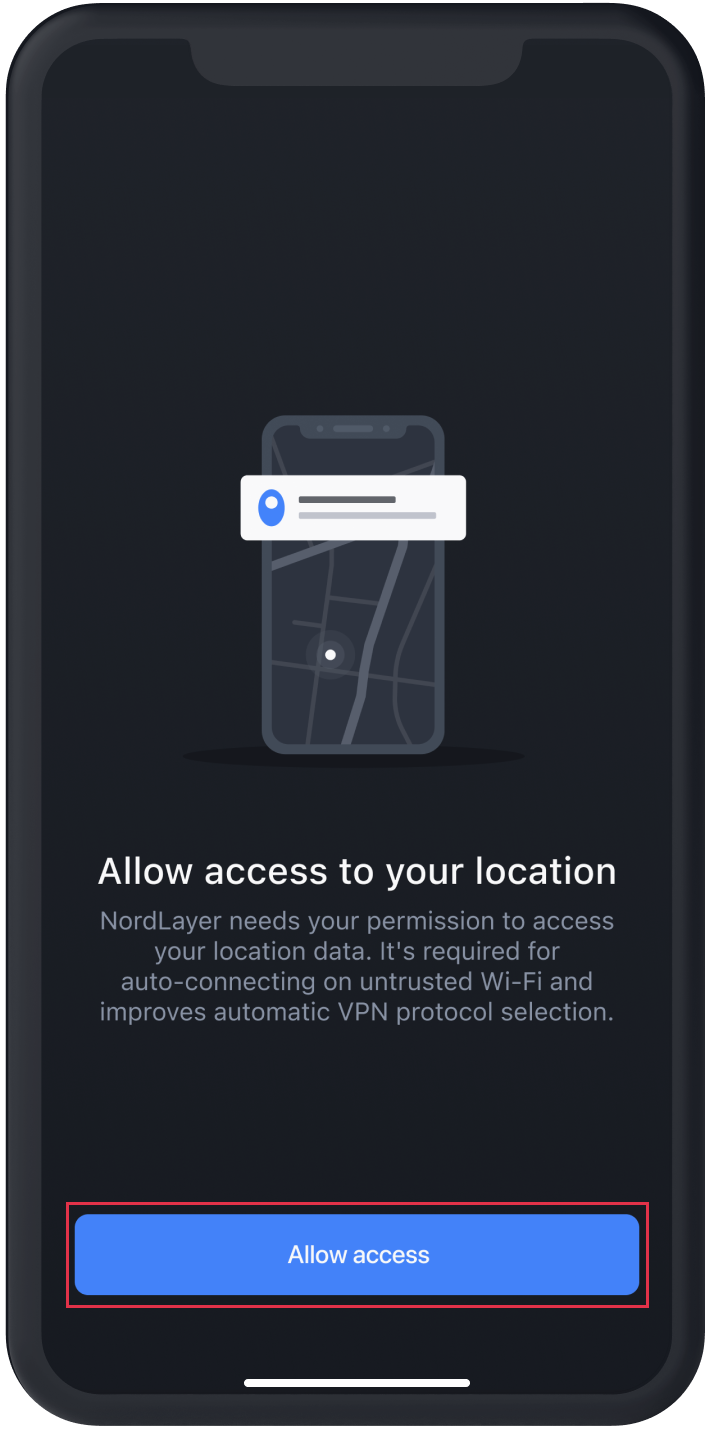
- Tap Allow access to allow NordLayer access your location.
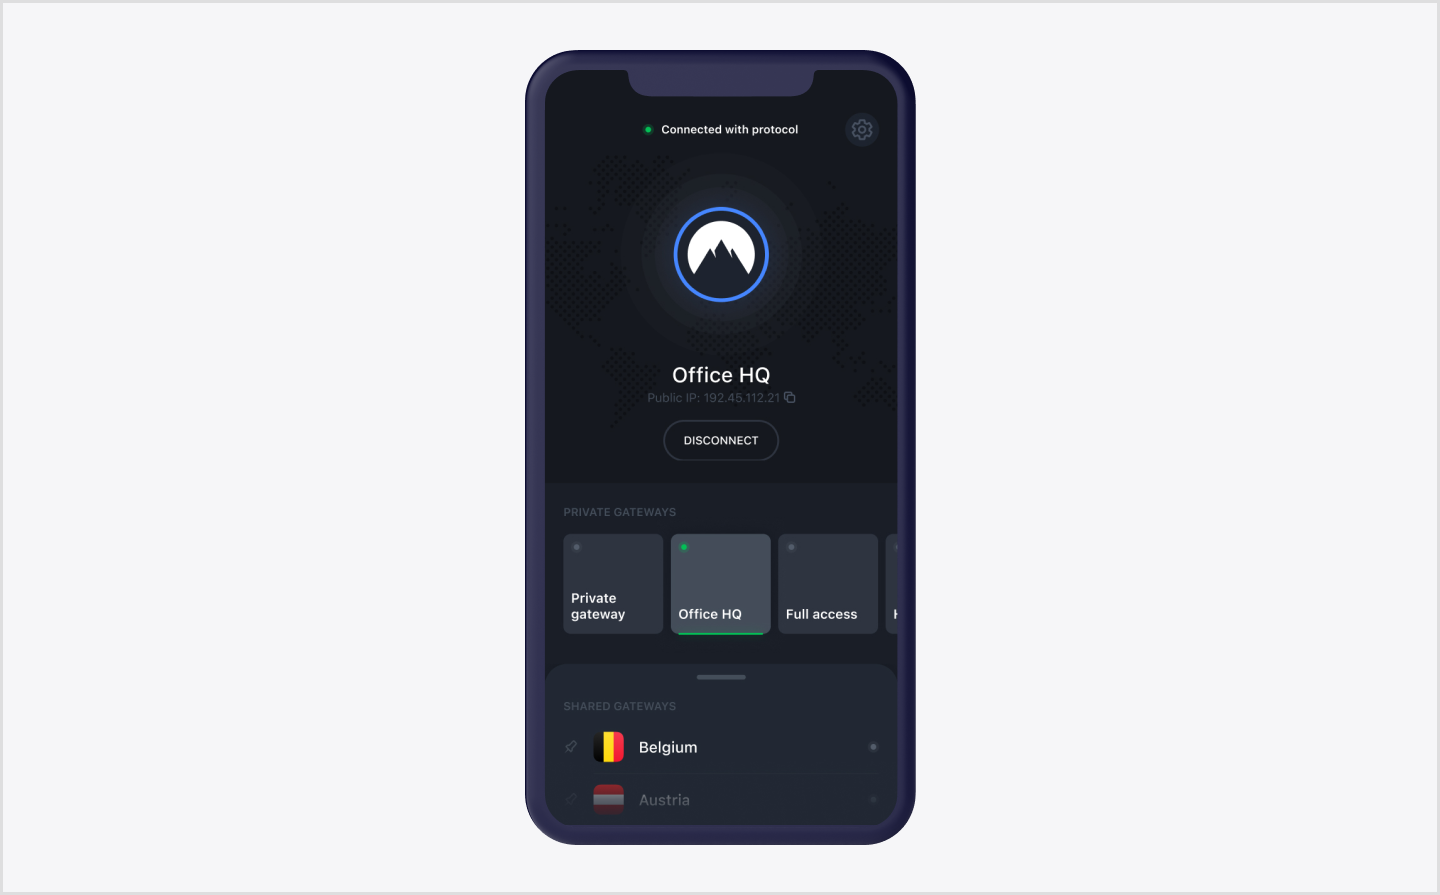
- And that's it! Once you're in, connect to either your organization's private gateway or a shared gateway and the status will change to Connected – meaning that your connection is now secure.
Note: In case you have any questions or are experiencing any issues, please feel free to contact our 24/7 customer support team.