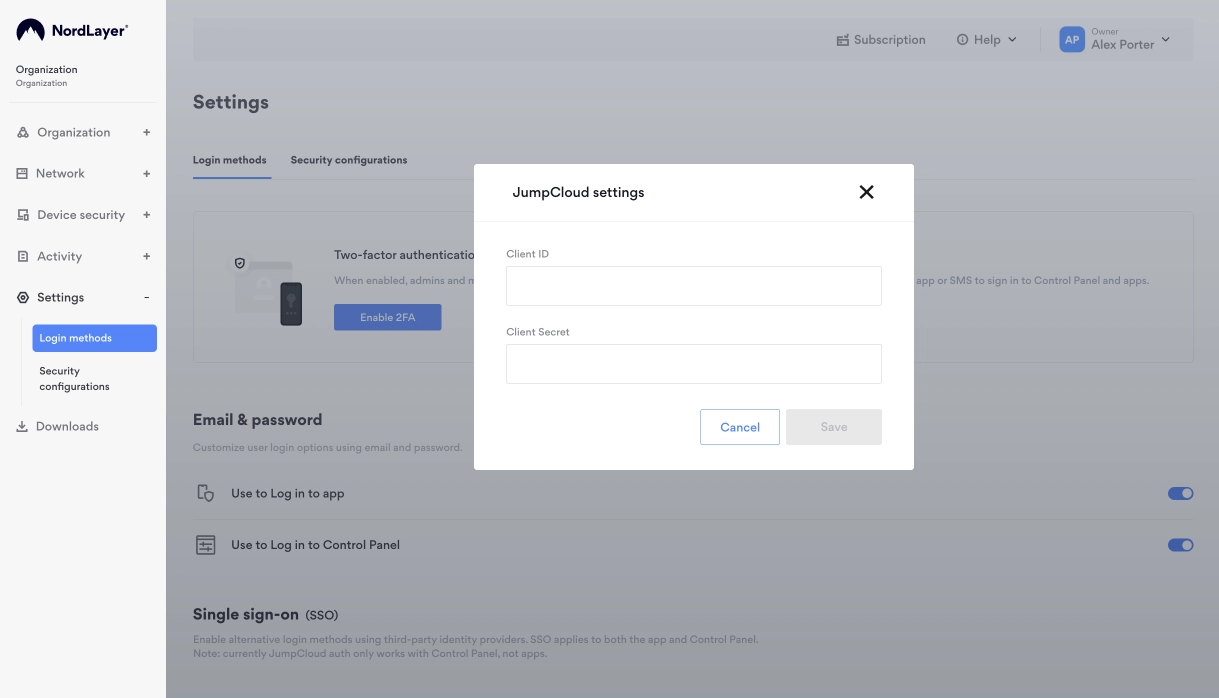
In order to enable JumpCloud as a login option for the end users, you will need to do the following:
- Log in to the JumpCloud Administrator Console at https://console.jumpcloud.com
- Go to USER AUTHENTICATION → SSO.
- Click (+ Add New Application) to configure a new application.
- Click Custom OIDC App.
- Enter a Display Label in the General Info tab. You can enter a description and adjust the logo shown for the application.
- Optionally, deselect Show this application in User Portal. Note: This will ensure users log in through NordLayer.
- Select the SSO tab.
- In the Redirect URIs field, enter:
https://auth.nordlayer.com/v1/tokens/oauth/resolution
- Under Client Authentication Type, select Client Secret Post.
- In the Login URL, enter:
https://cp.nordlayer.com/login
- Navigate down to Attribute Mapping (optional) → USER ATTRIBUTE MAPPING, and click Add Attribute.
- In Service Provider Attribute Name, type “email”.
- In JumpCloud Attribute Name, select email.
- Click activate.
- On the Application Saved window, copy the Client ID and Client Secret.
Note:
The Client Secret will only be shown once. Copy it to a secure location for future reference.
- Click Got It.
Now once you’ve set up JumpCloud, go to the NordLayer Control Panel and do the following:
- Go to Settings → Login methods.
- Under Single sign-on enable JumpCloud.
- Enter the Client ID and Client Secret generated in the previous section.
- Click Save.

Note:
- Single-Sign-ON (SSO) will be enabled on Control Panel, VPN apps and Browser Extension
- You can have multiple SSO options listed for authentication
- It is possible to remove email & password authentication, leaving SSO as the only option to sign in
Other available SSO providers include Azure, Google, Okta and OneLogin. You can set them up in the Service Management Portal by following these guides:
- Entra ID (Azure AD) 3rd party authentication
- Google SSO 3rd party authentication
- Okta 3rd party authentication
- OneLogin 3rd party authentication
Note: In case you have any questions or are experiencing any issues, please feel free to contact our 24/7 customer support team.