To streamline access to NordLayer apps and the Control Panel, you can integrate Entra ID (Azure AD) single sign-on (SSO).
Here's a step-by-step guide to setting it up:
- Log in to your Entra ID Panel
- Navigate to the App registrations section in the main menu
- Click New registration and name it NordLayer
- Select supported account types and click Register
- In the newly opened page, select API permissions tab in the left menu
- Click Add a permission, select Microsoft Graph, and choose Delegated permissions
- Mark profile under OpenID permissions. You may optionally also enable email toggle.
- Scroll to the bottom and ensure User.Read is selected in User tab.
- Confirm selections by clicking Add permissions at the bottom
- Click Grant admin consent and confirming with Yes
- Head to the Token configuration tab:
- Select Add optional claim
- Choose Token type as ID
- Mark Claims: upn claim (note that you may also optionally tick email) and save by clicking Add at the bottom
- In the left menu, select Authentication
- Click Add a platform at the top and choose Web
- In the Redirect URLs field, enter:
https://partner-api.nordlayer.com/v1/tokens/oauth/resolution
- You may also optionally check Access tokens and ID tokens under Implicit grant and hybrid flows
- Save changes by clicking Configure at the bottom
- In the left menu, select Overview and copy the Application (client) ID and Directory (Tenant) ID and store them securely
- Under Certificates & secrets in the left menu select Client secrets
- Select New client secret and enter NordLayer in the description field
- Choose a 24-month expiry and click Add to save.
Note
Keep the Generated Client Secret Value secure, as it's displayed only once
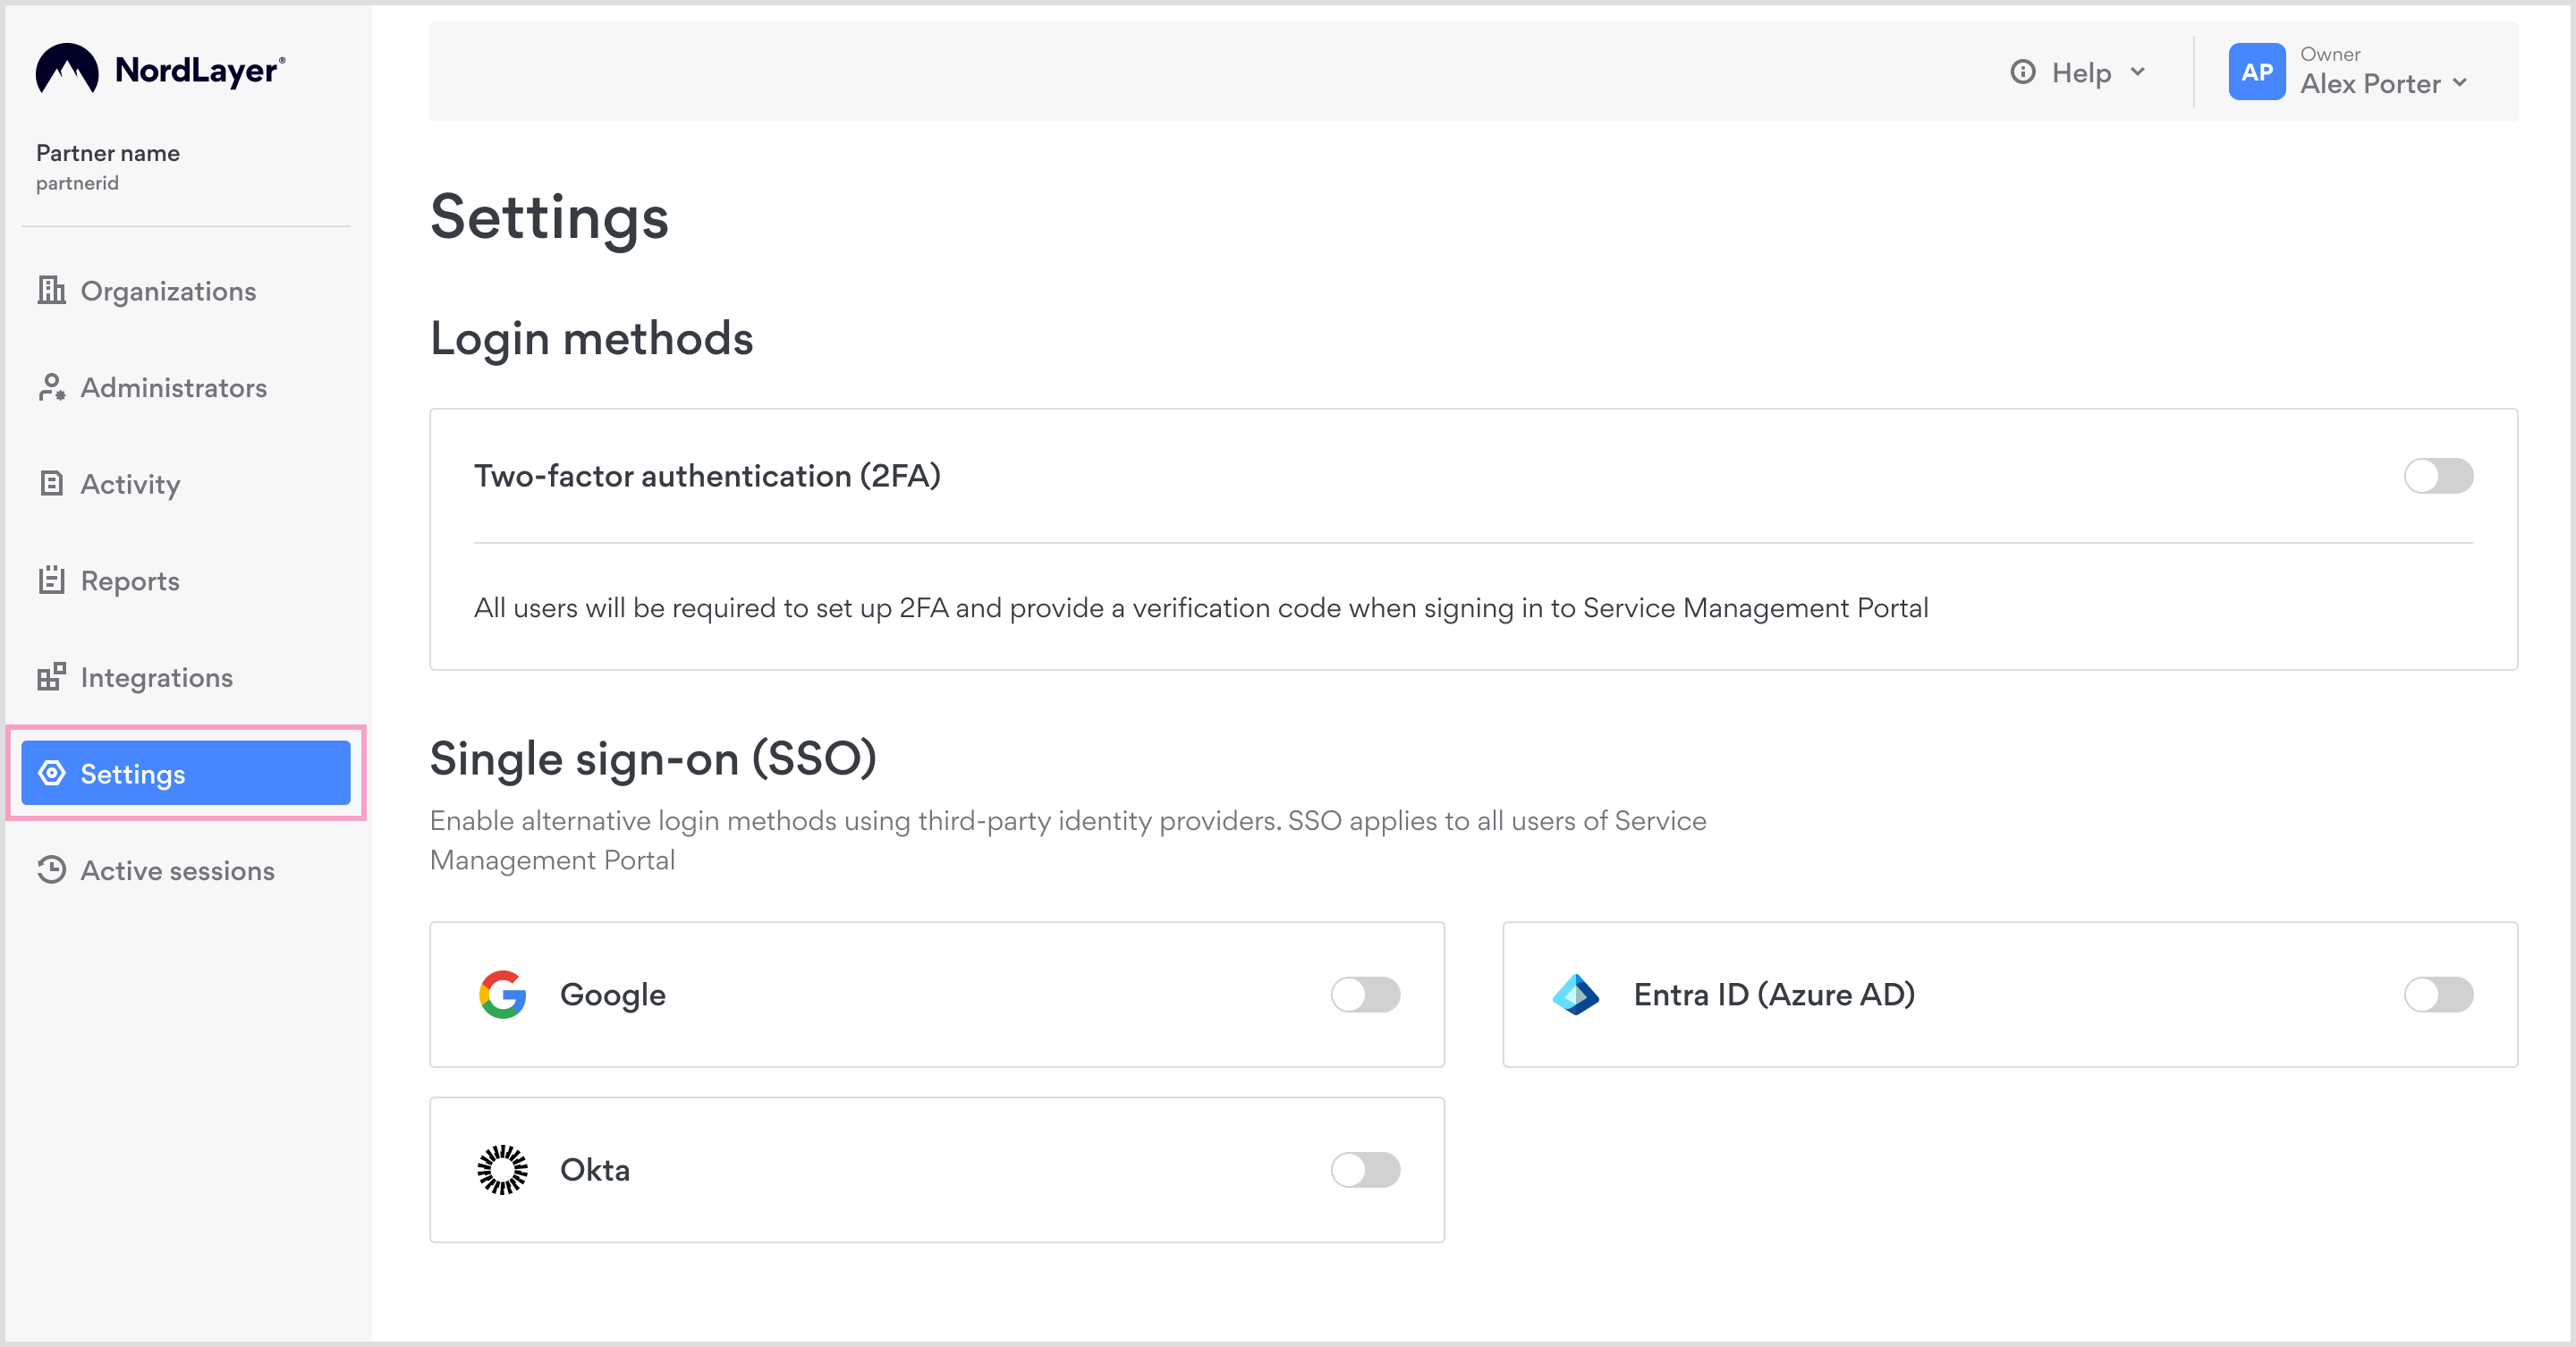
- Finalize NordLayer configuration by going to NordLayer Control Panel on our website
- Navigate to Settings

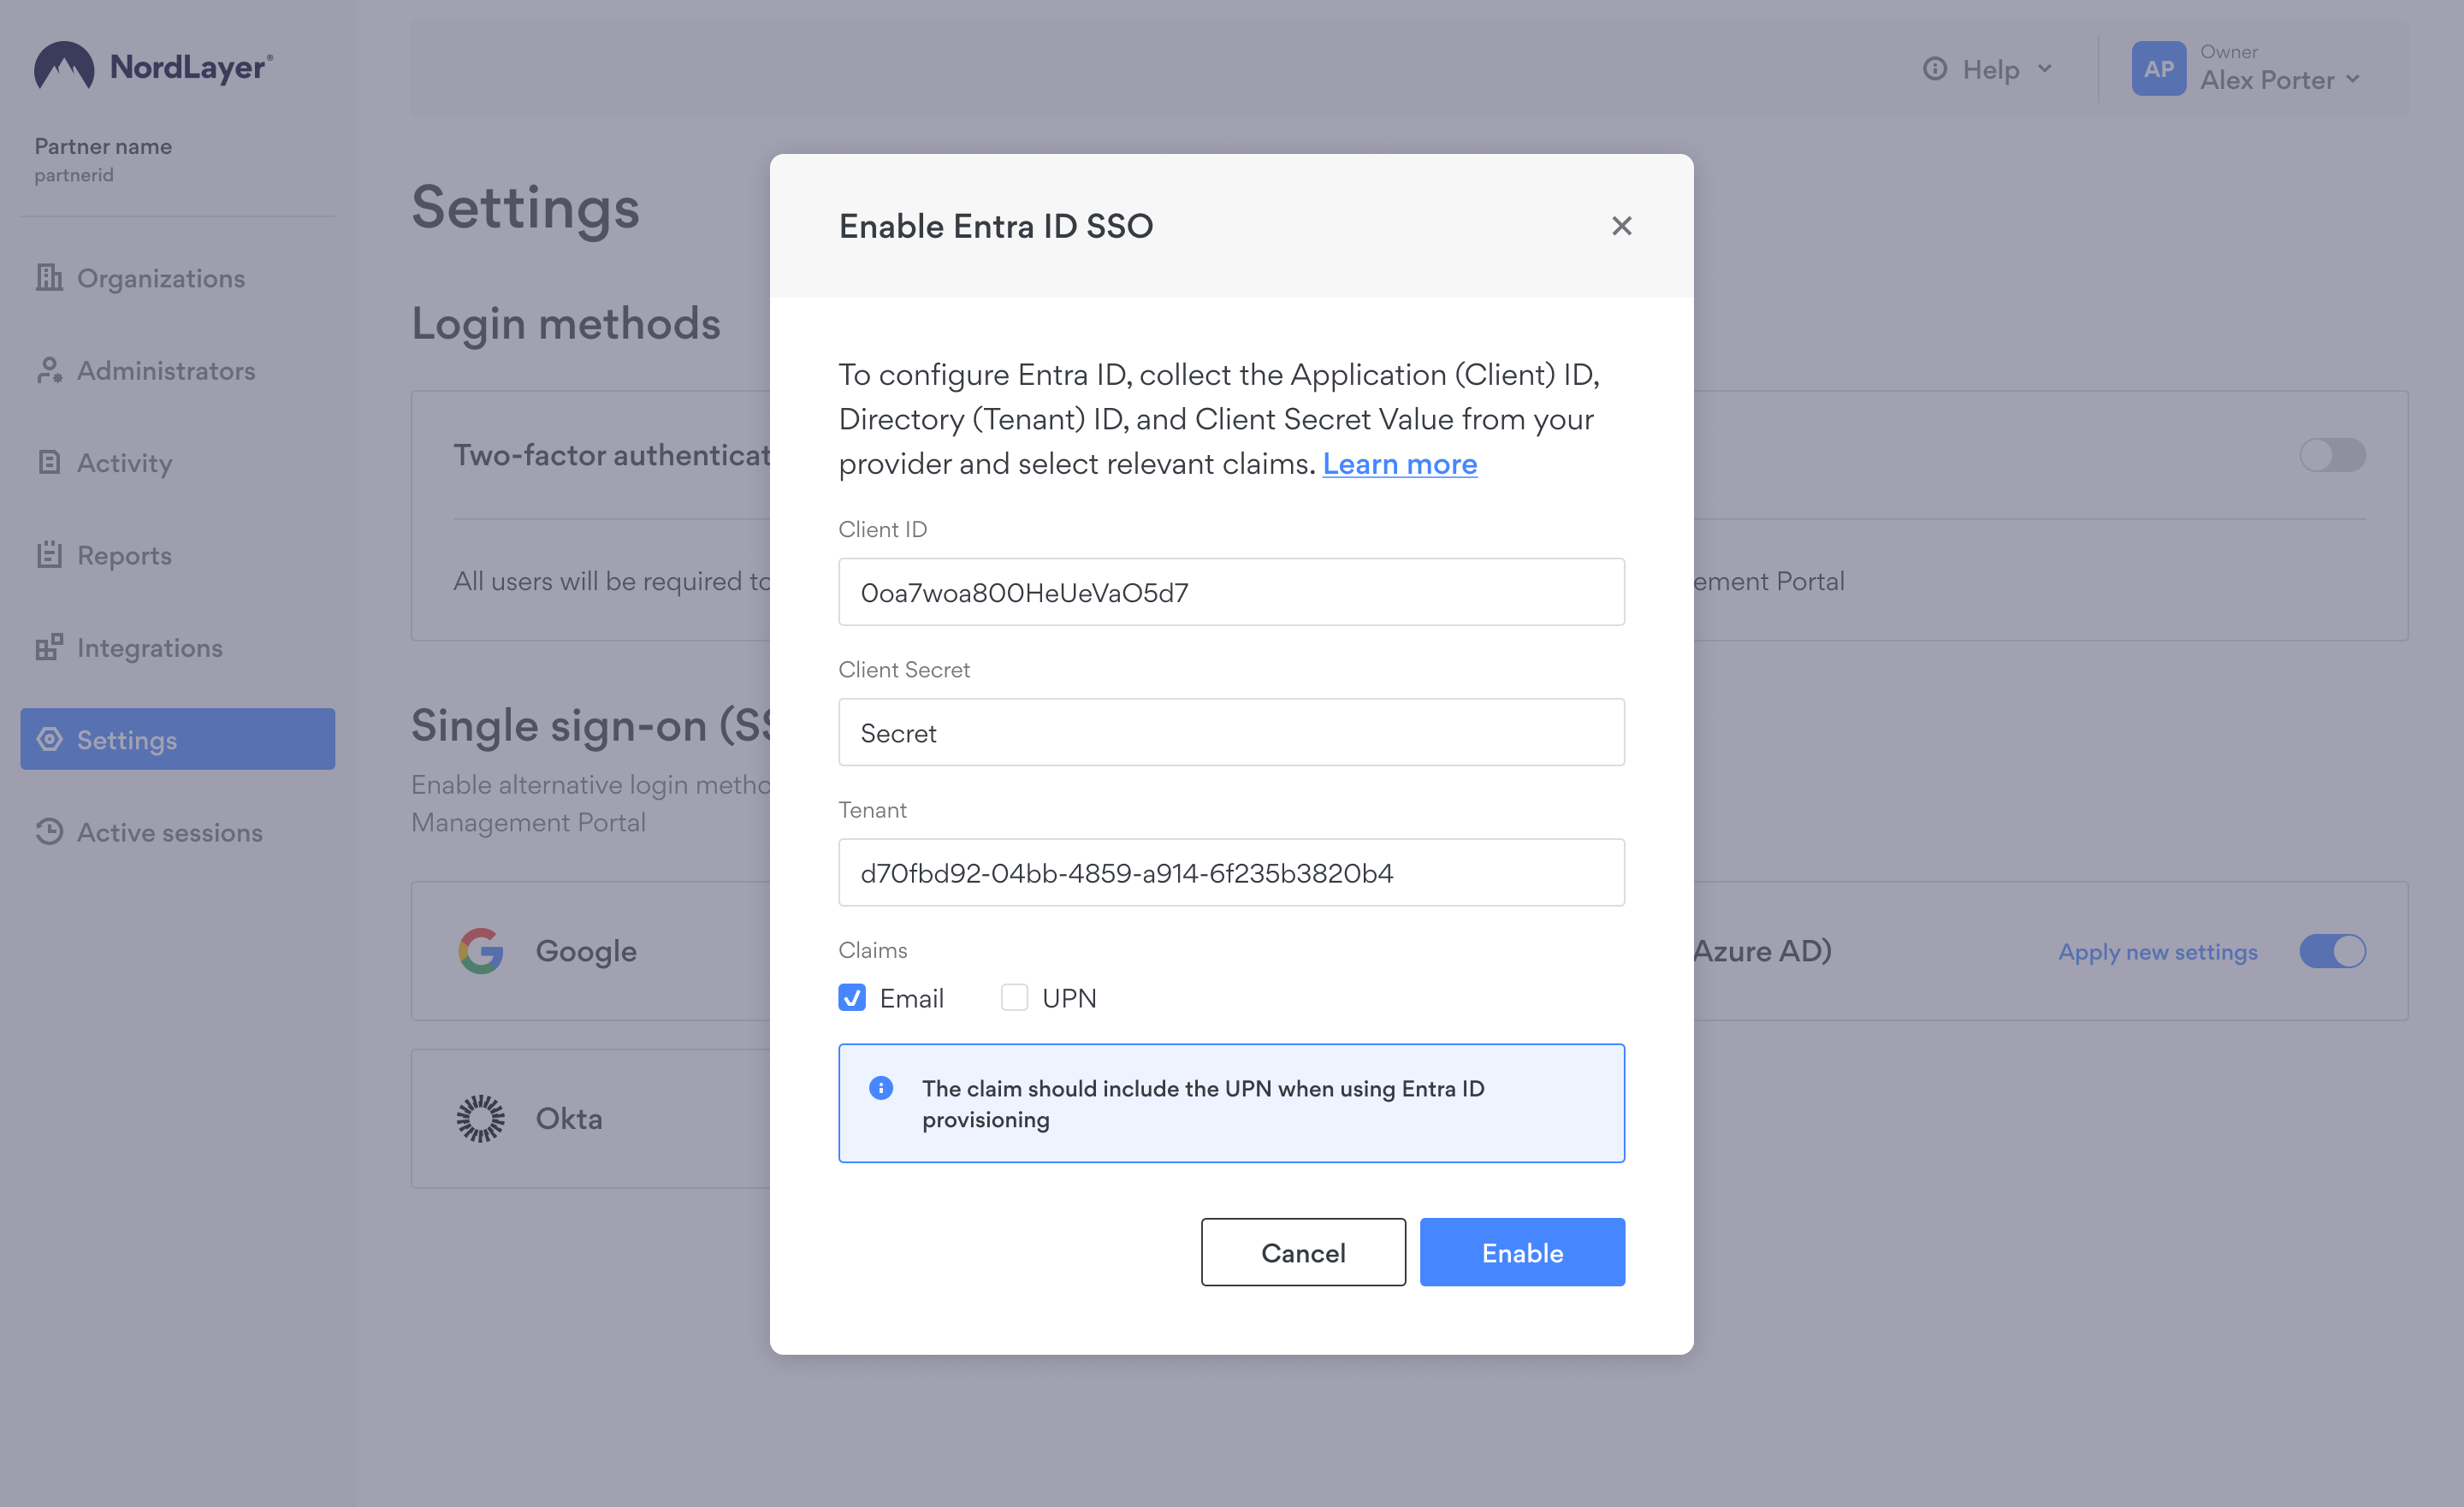
- Choose Entra ID (Azure AD) and enter the three collected values:
- Application (Client) ID
- Directory (Tenant) ID
- Generated Client Secret Value

- Submit the information to enable Entra ID (Azure AD) SSO for your organization.
Note
- Single sign-on (SSO) will be enabled for the Control Panel, VPN apps, and Browser Extension.
- Multiple SSO methods can be enabled.
Other available SSO providers include Google, JumpCloud, Okta, and OneLogin. You can set them up in the Control Panel by following these guides:
In case you have any questions or are experiencing any issues, please feel free to contact our 24/7 customer support team.