Note: If your device/service supports SHA256 and DH group 14, it is recommended to use these settings instead.
Creating Gateway Subnet
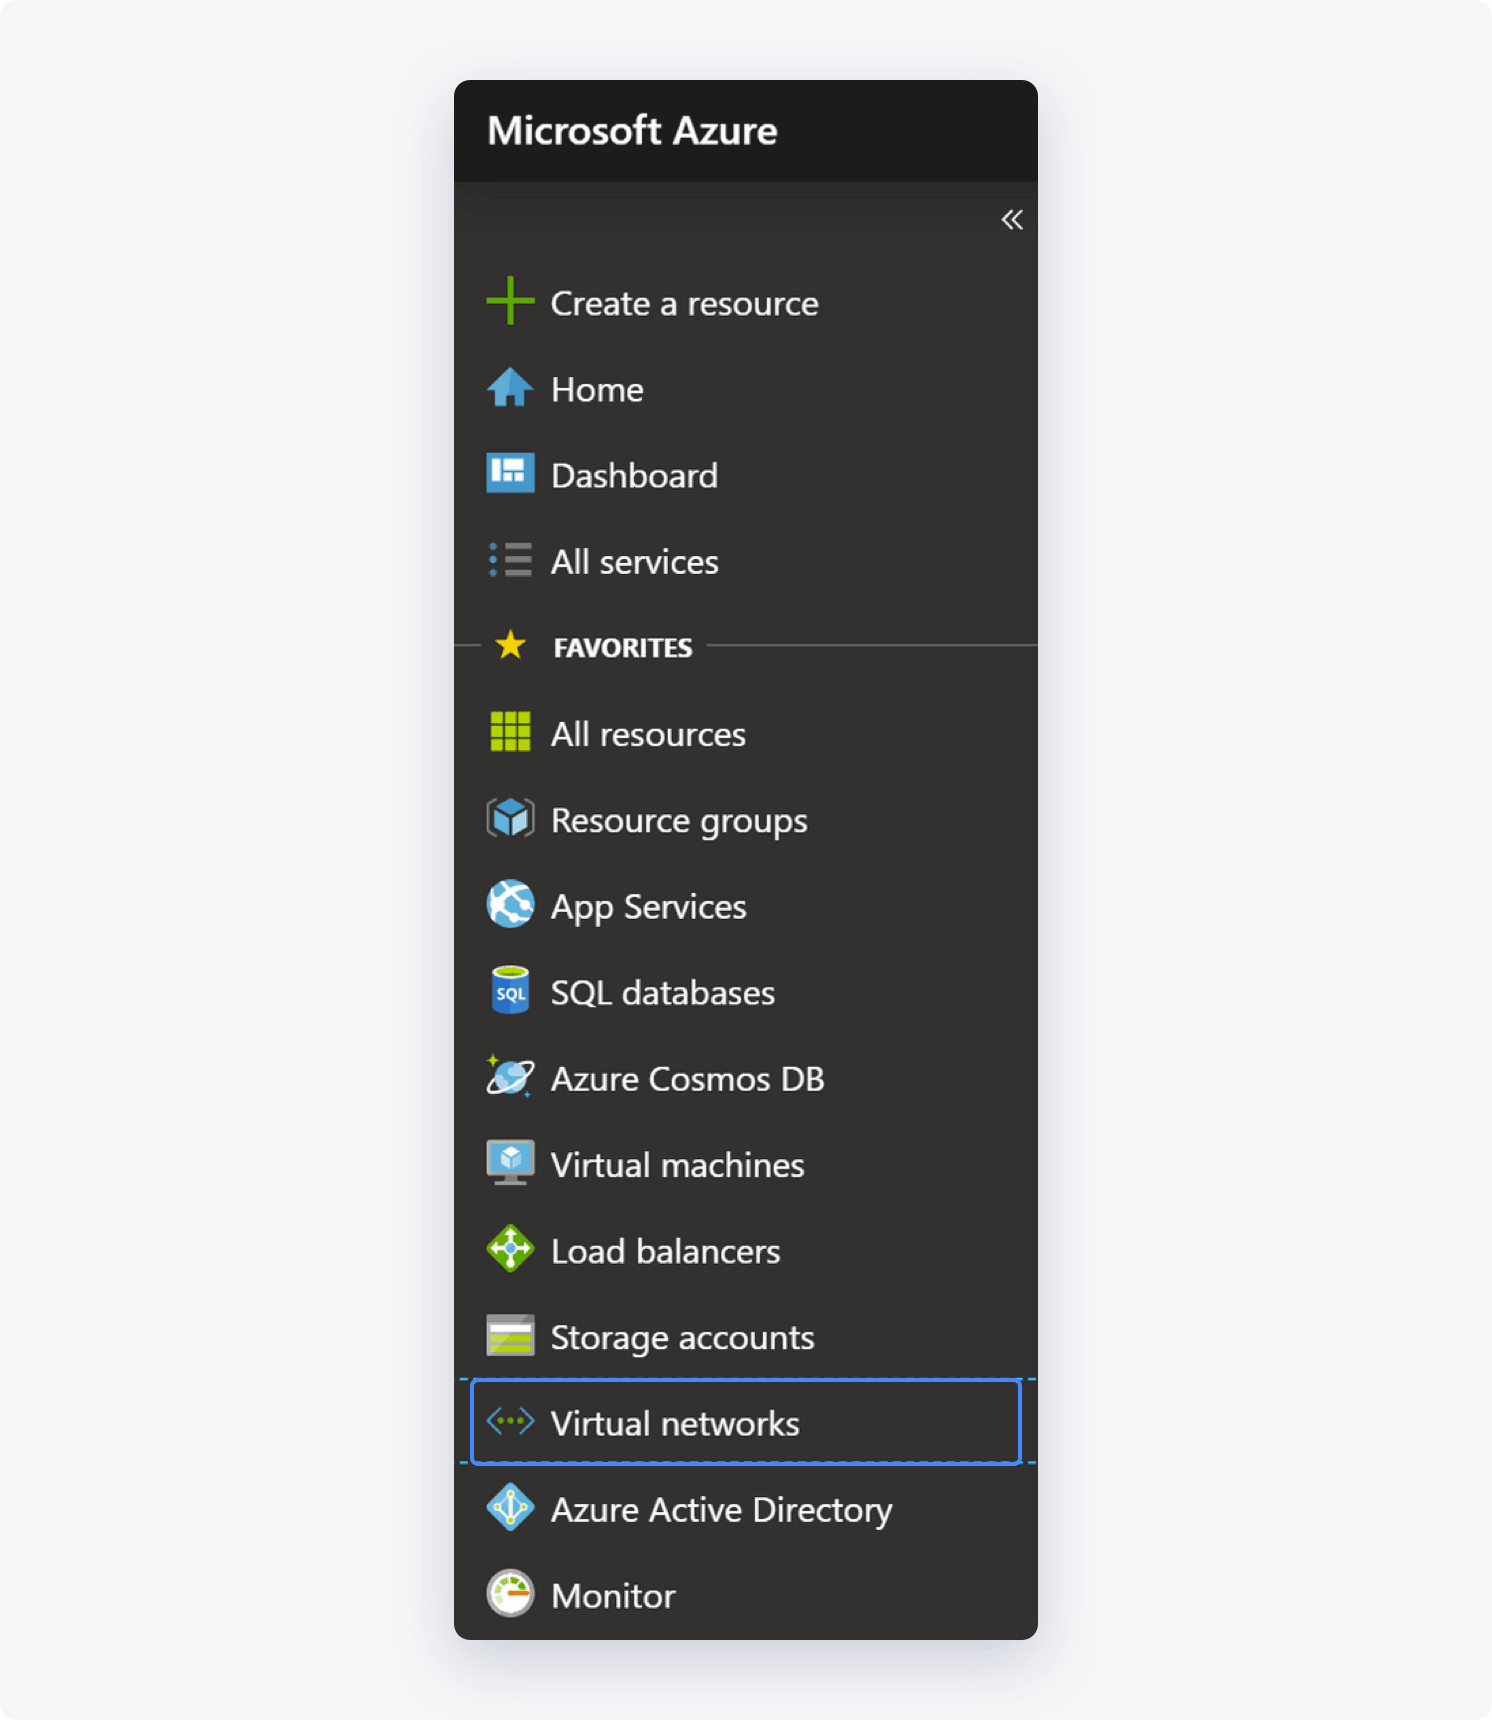
- In your Azure Management Portal, navigate to the Virtual networks
-
Select the name of the Virtual Network to which you'd like to create a gateway
-
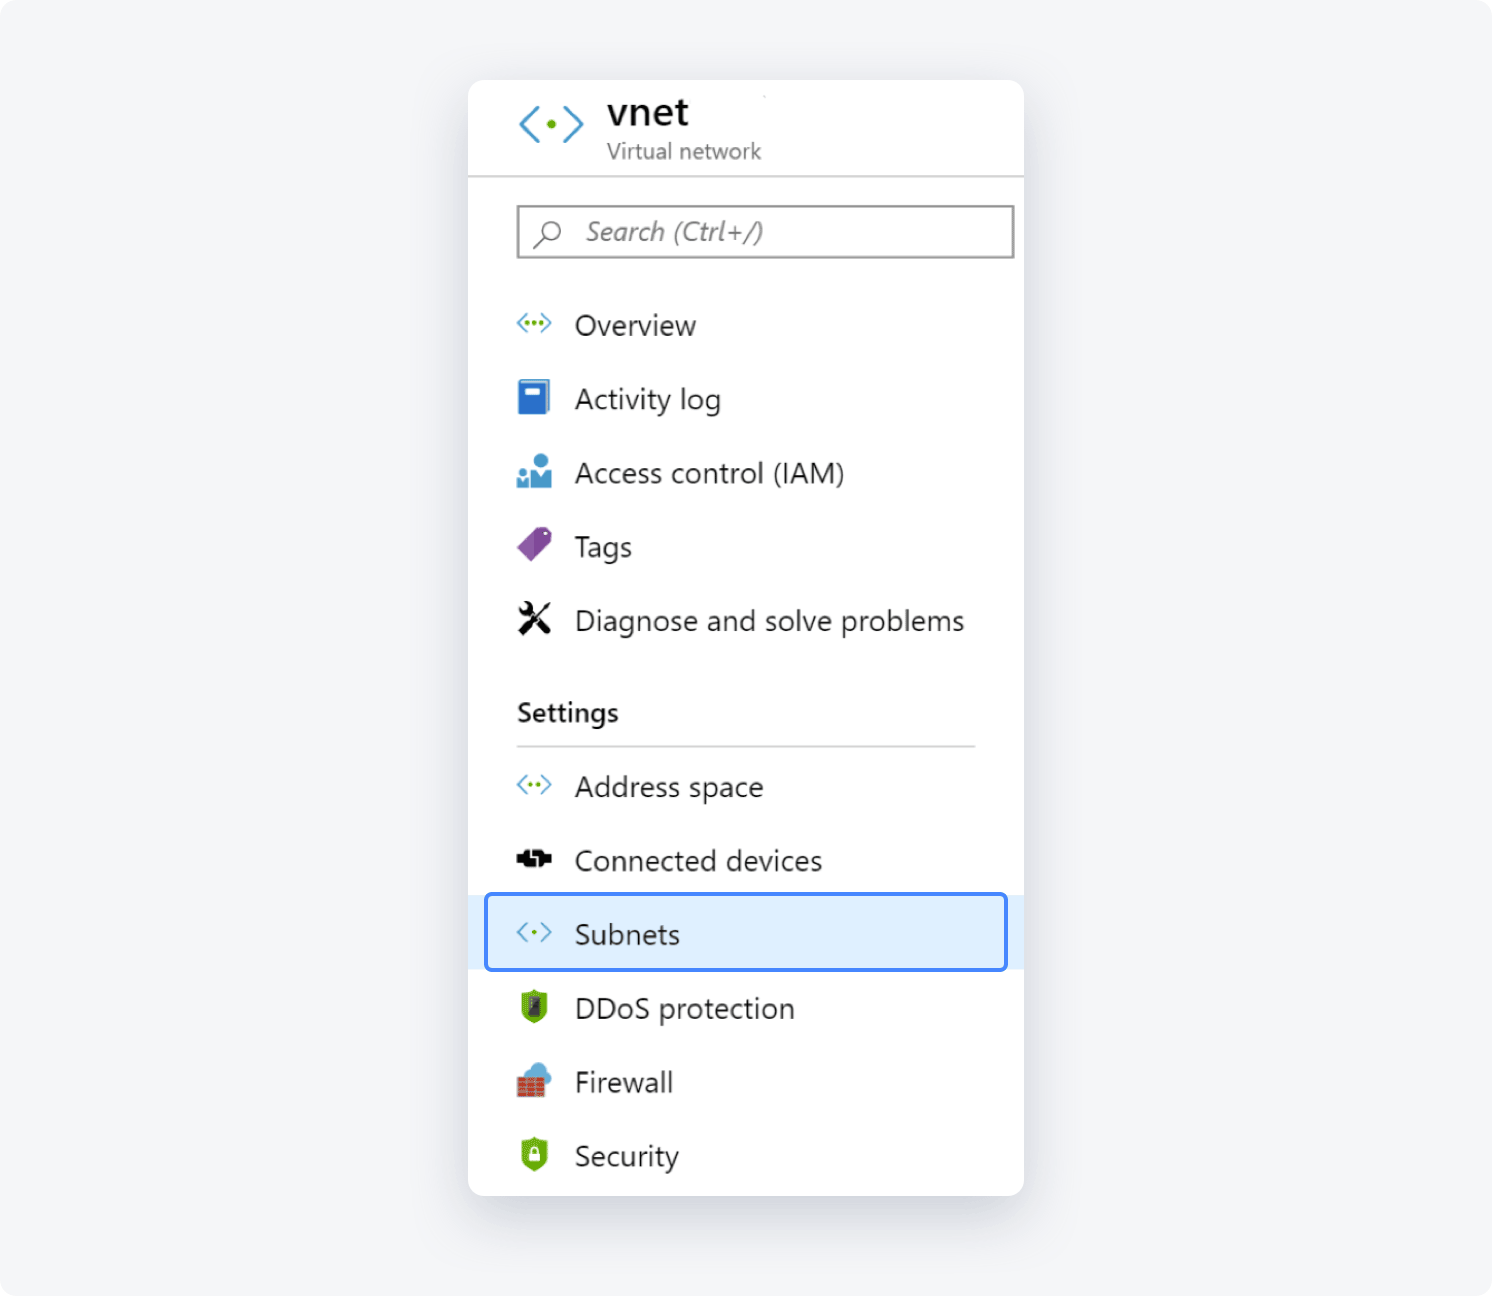
Under the Settings section of your VNet page, select Subnets
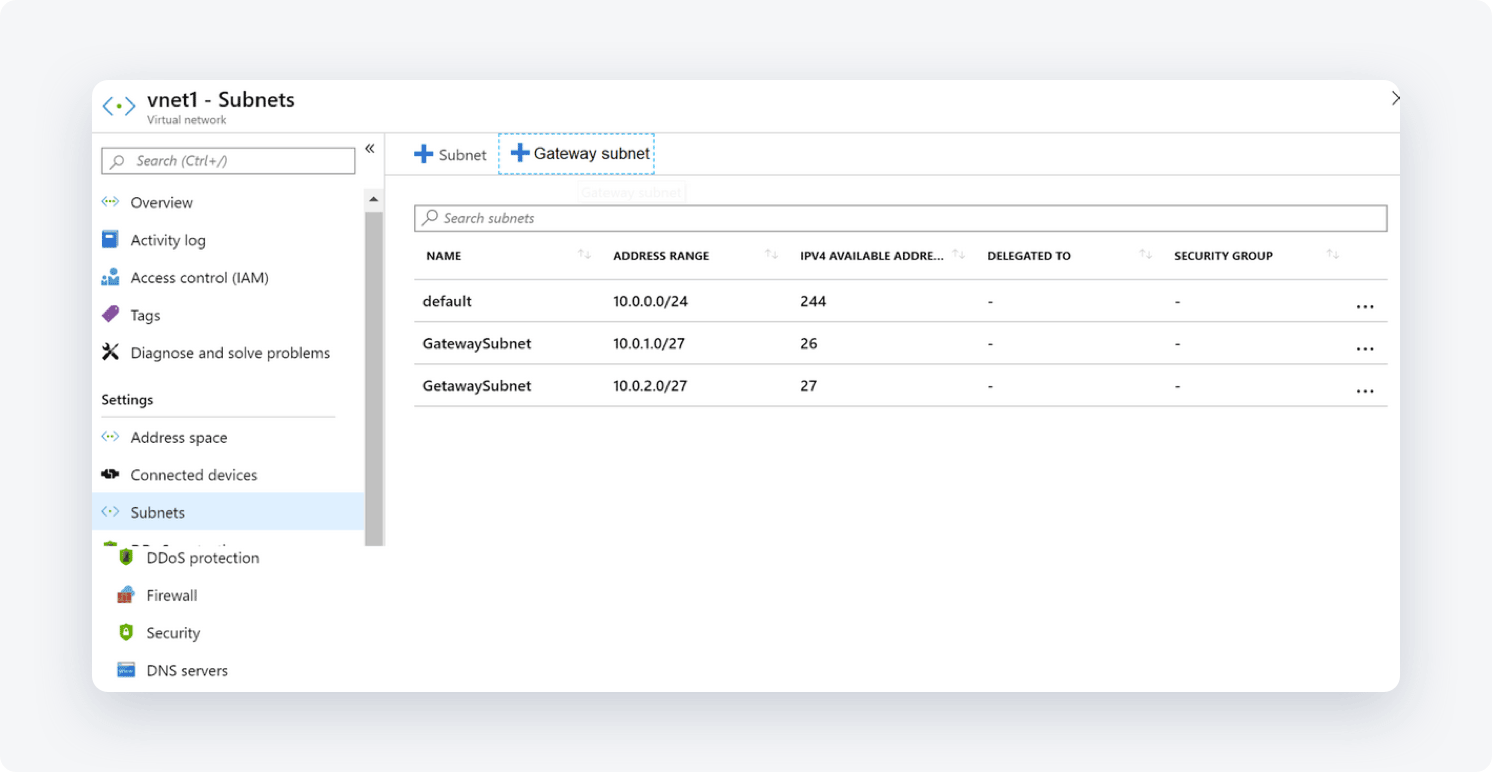
- Select + Gateway subnet (the name of the subnet is filled in with the value "Gateway subnet" by default)
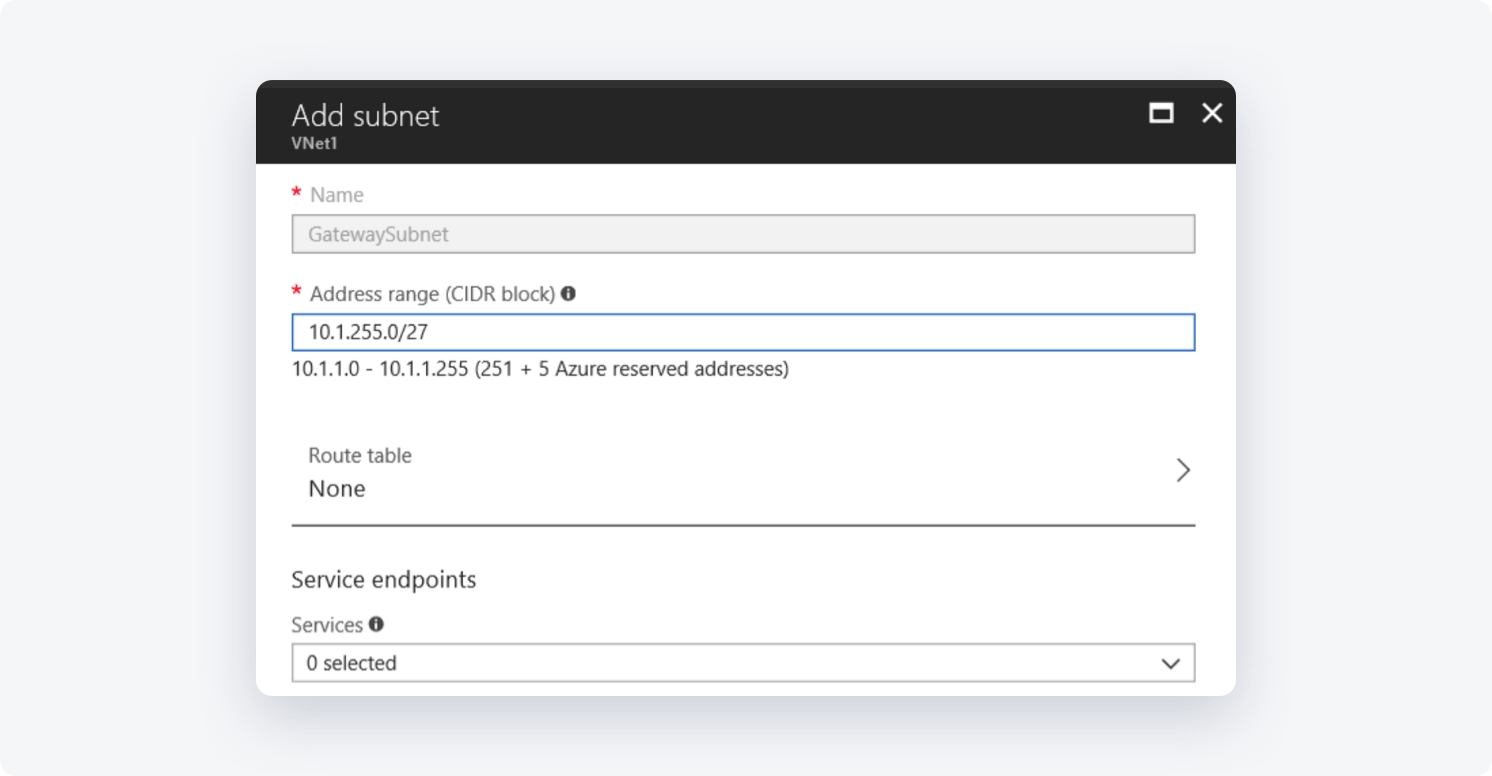
- If needed, adjust the auto-filled Address range values to match your configuration requirements
In case this range is not automatically filled in:
- Go to address space-> +Add
- Select a random /27 bit mask subnet space (for example 10.1.255.0/27)
Creating Virtual Network Gateway
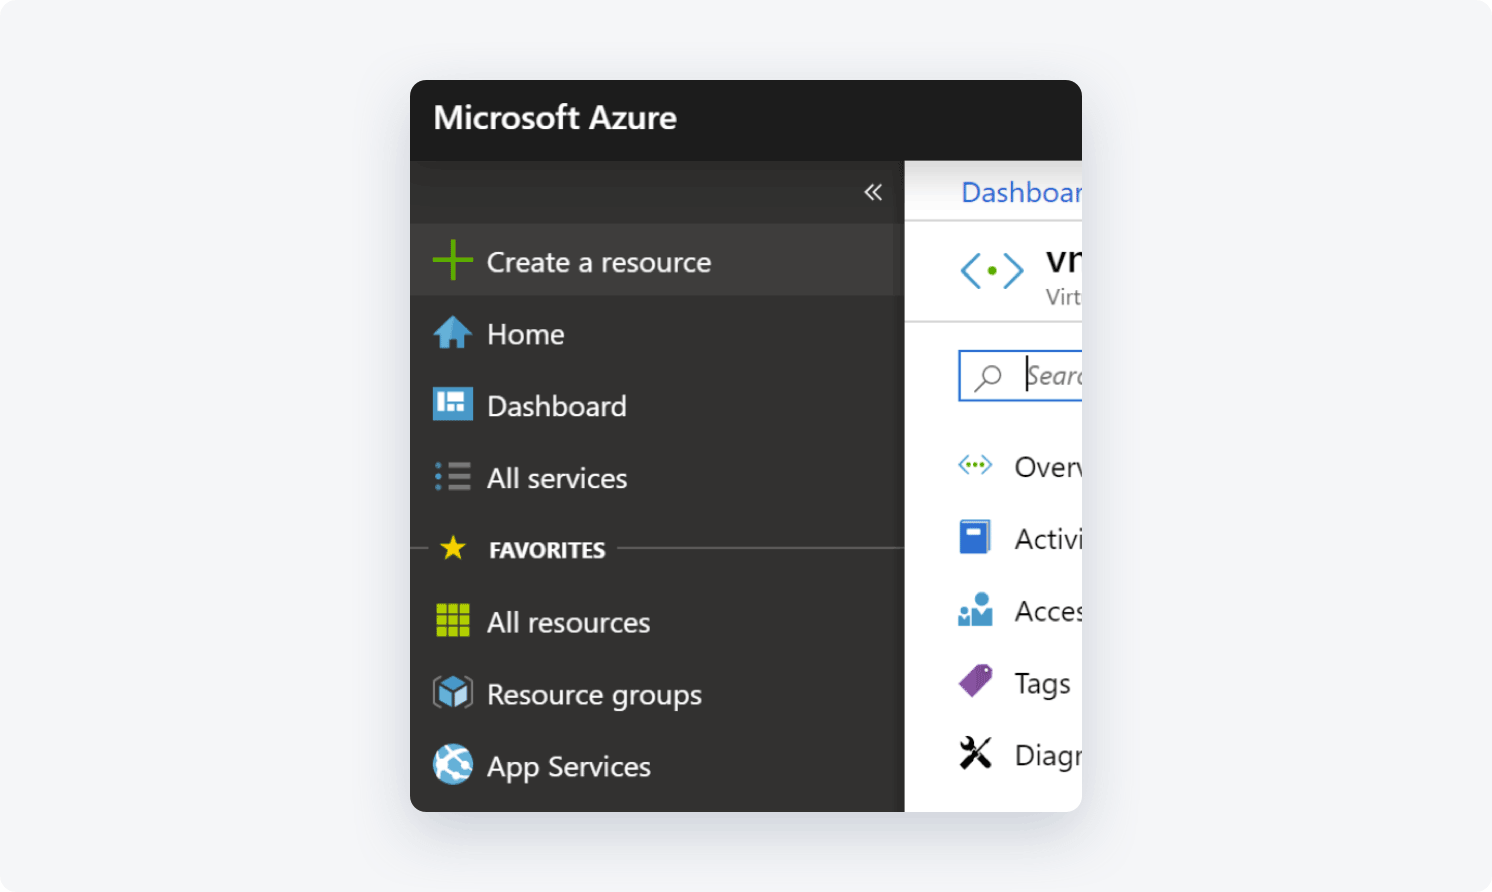
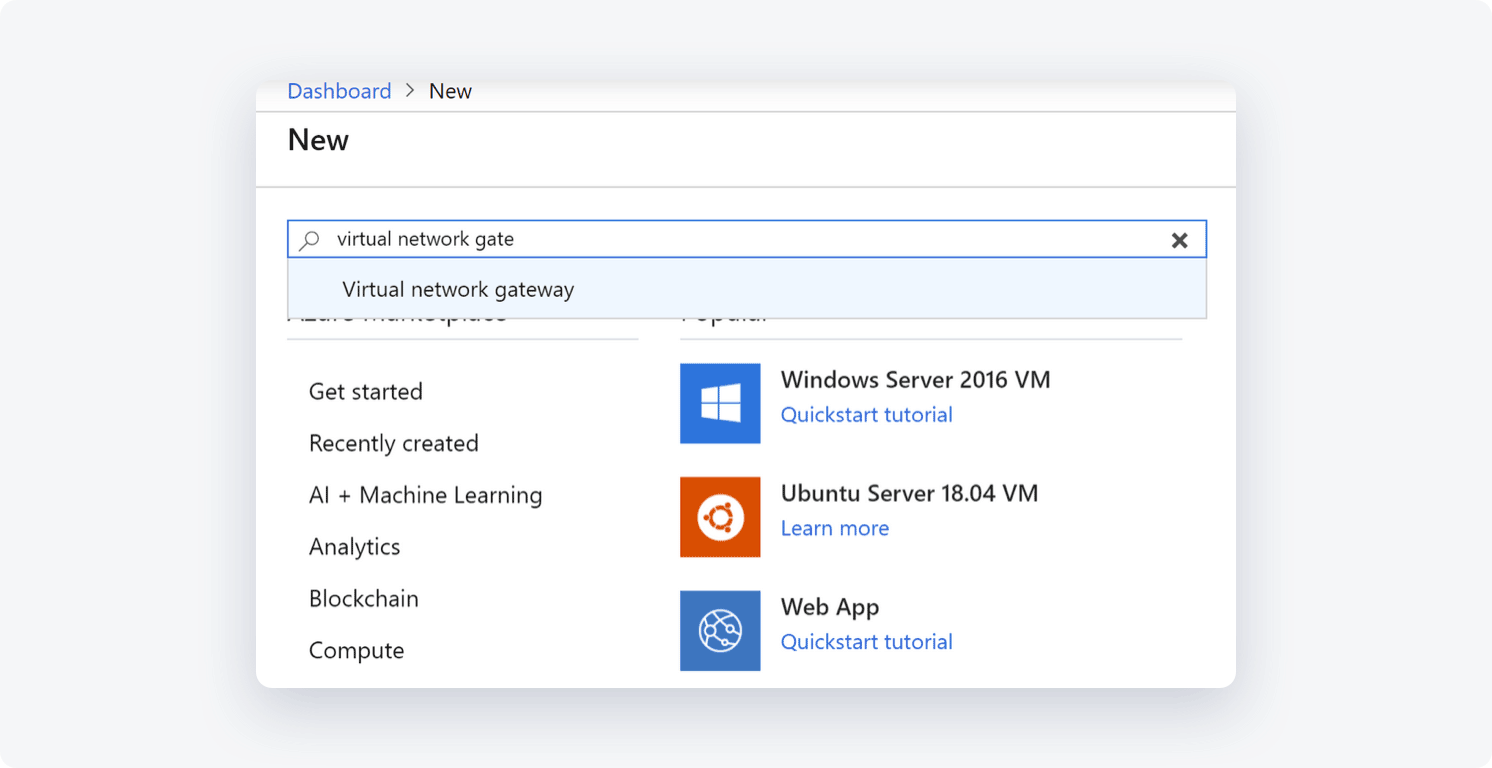
- On the left side of the portal page, select + and type Virtual Network Gateway in the Search line
- Locate and select the Virtual network gateway
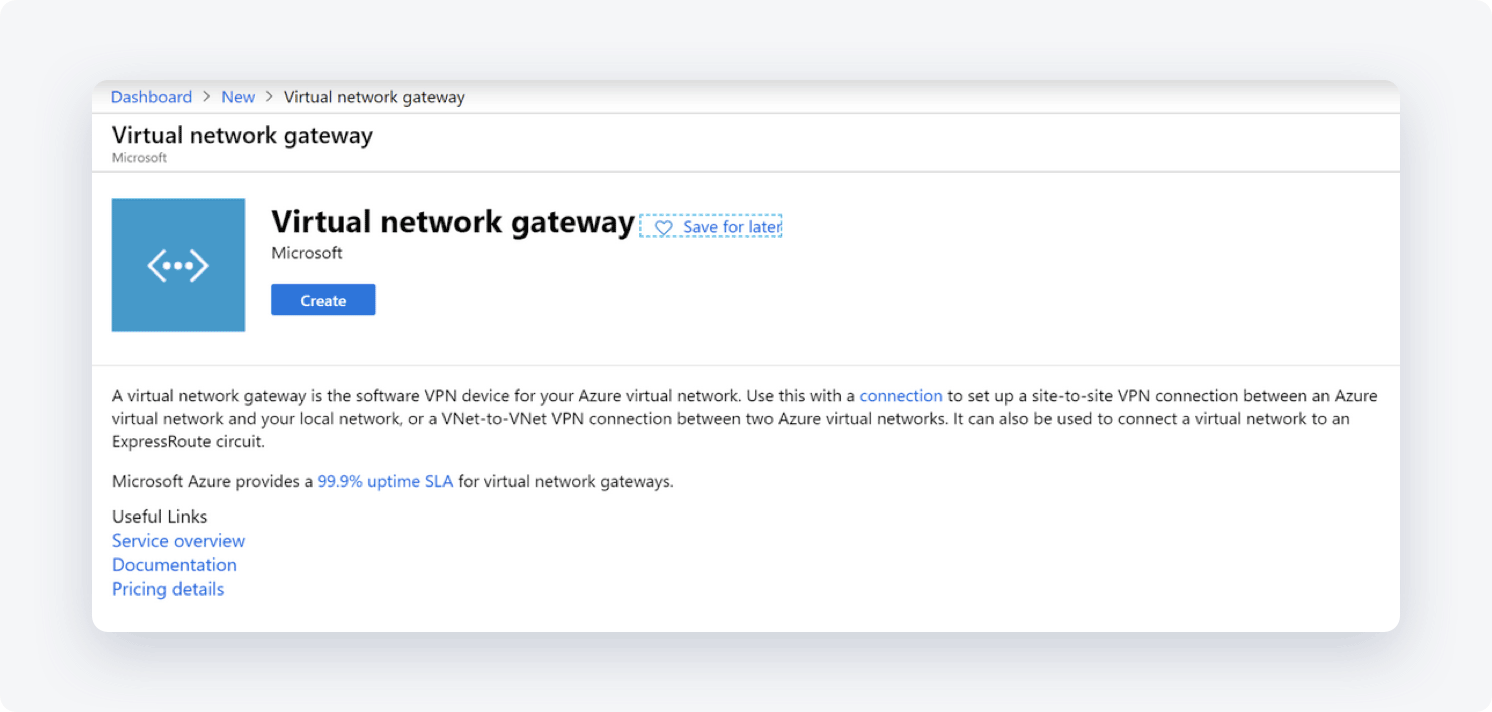
- Select Create
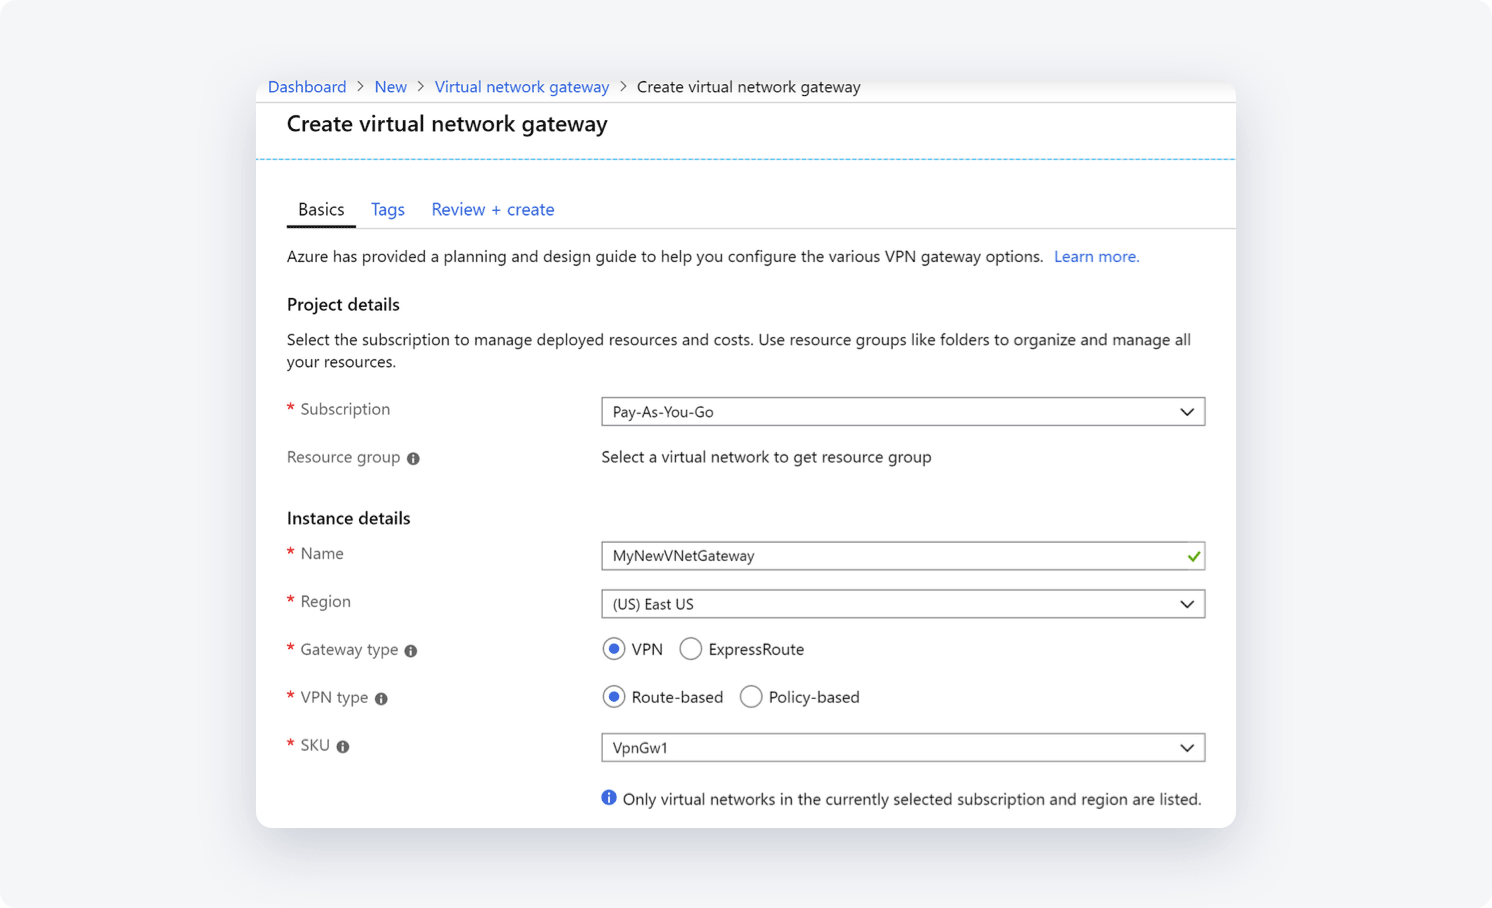
- Fill in the fields with the following information:
- Name: Your gateway name
- Region/Location: Select the Virtual Network location\region where your resources are
- Gateway type: Select VPN
- VPN type: Select Route-based
- SKU: Select the gateway SKU from the dropdown. The SKUs listed in the dropdown depend on the VPN you select
- Virtual network: Select the Virtual network that contains the resources you want to reach via the tunnel
Select a Virtual network to open the Choose a virtual network page.
If you don't see your VNet, make sure the Location/Region field is pointing to the region in which your virtual network is located.

- Gateway subnet address range: You will only see this setting if you did not previously create a gateway subnet for your virtual network. If you previously created a valid gateway subnet, this field will not appear
- Public IP address: This specifies the public IP address object that's associated with the VPN gateway. The public IP address is dynamically assigned to this object when the VPN gateway is created
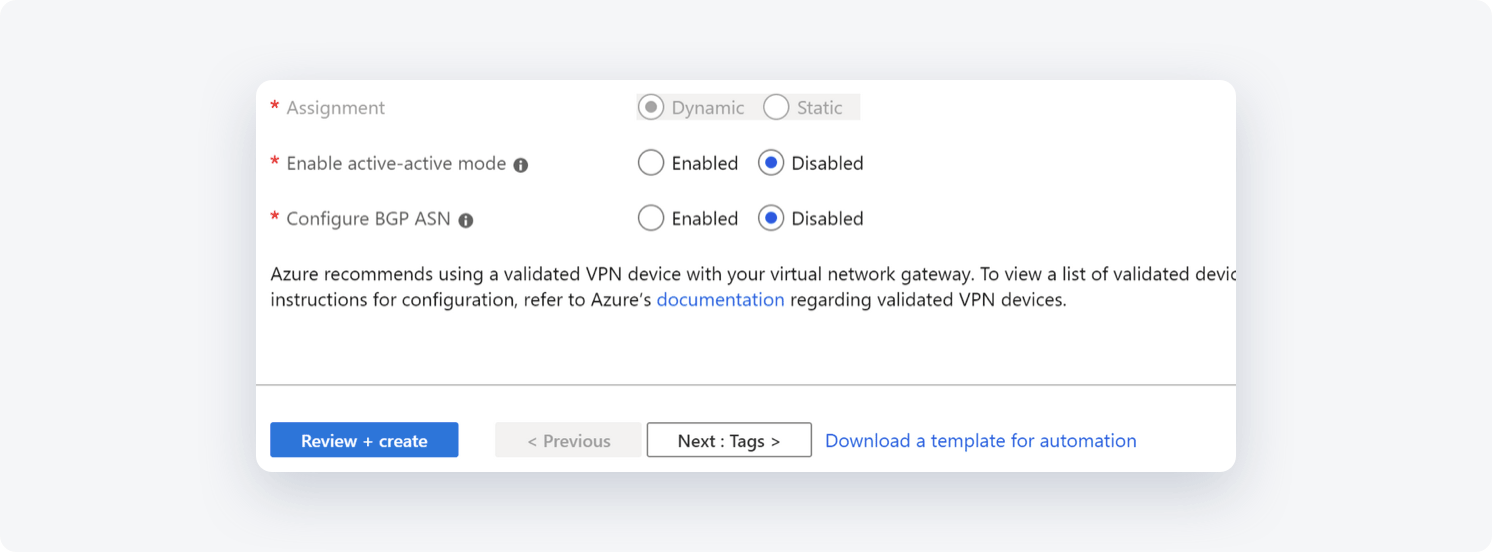
- Enable active-active mode: Disabled
- Configure BGP ASN: Disabled
- Select Review+create to begin creating the VPN gateway
It can take up to 45 minutes for the task to be completed.
Creating Local Network Gateway
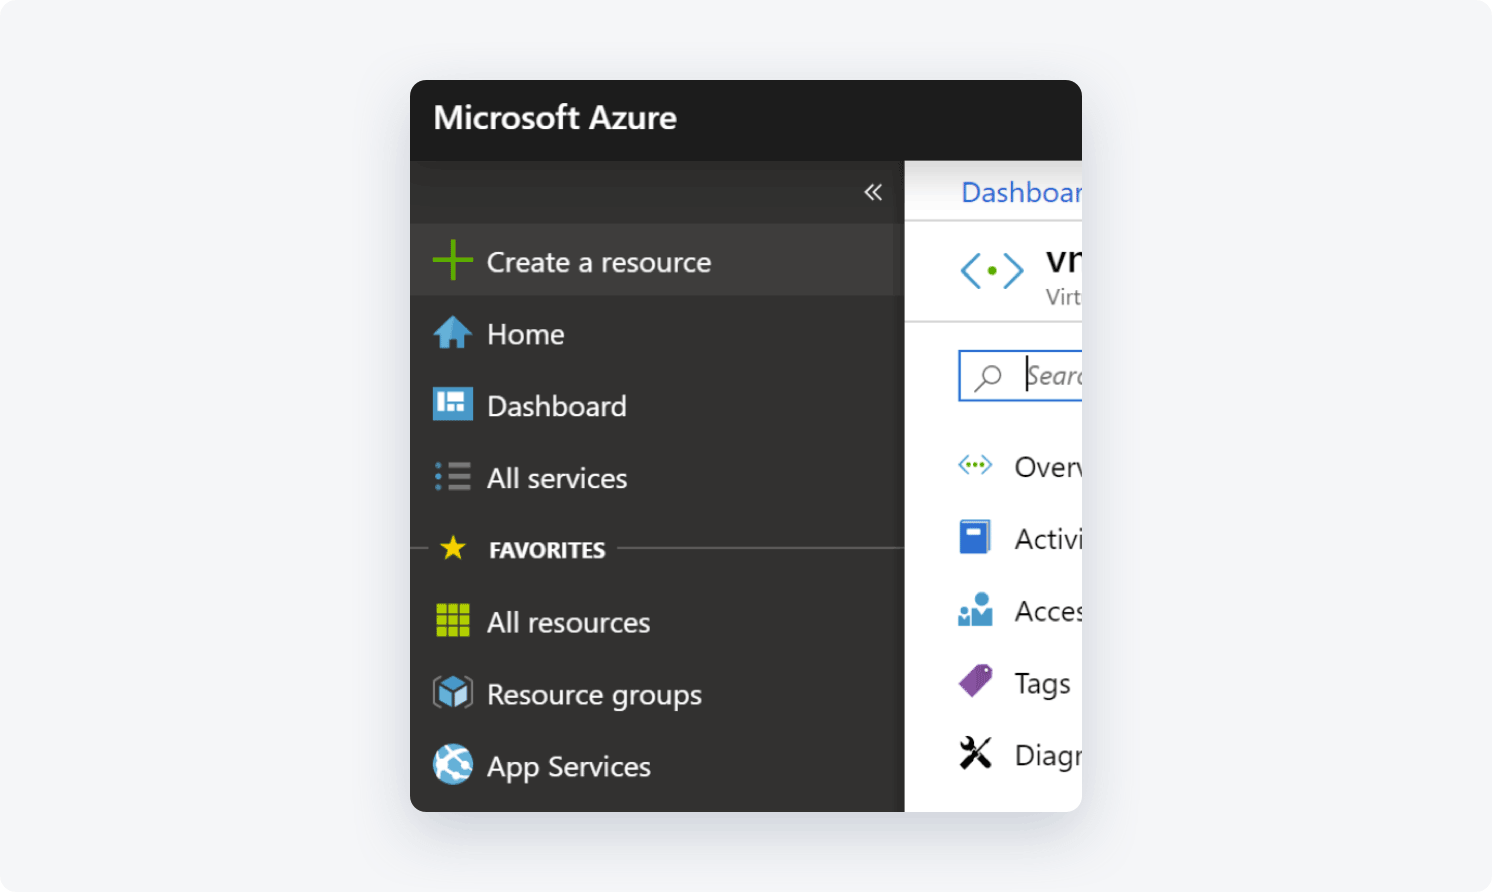
- In the portal, select + Create a resource
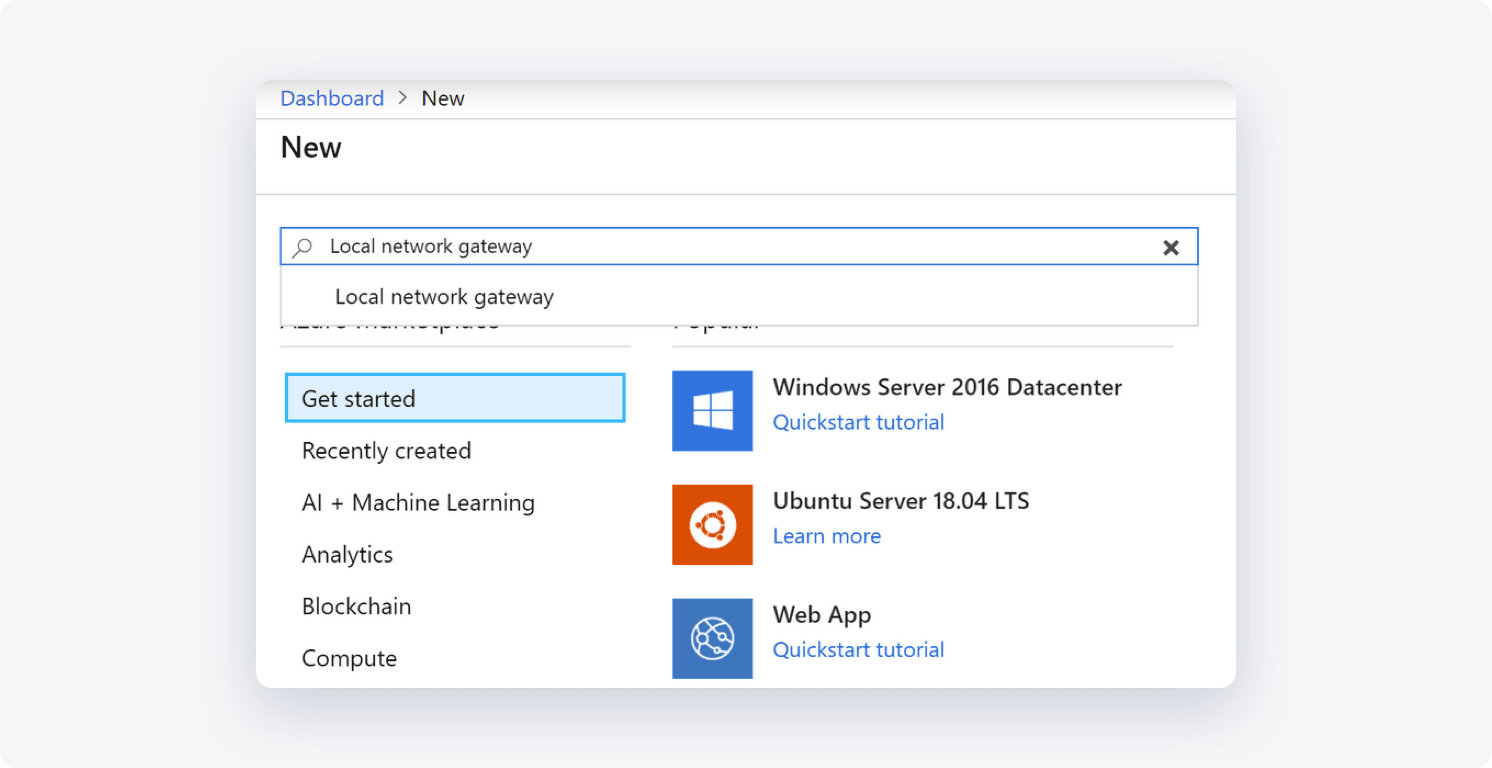
- In the search box type "Local network gateway"
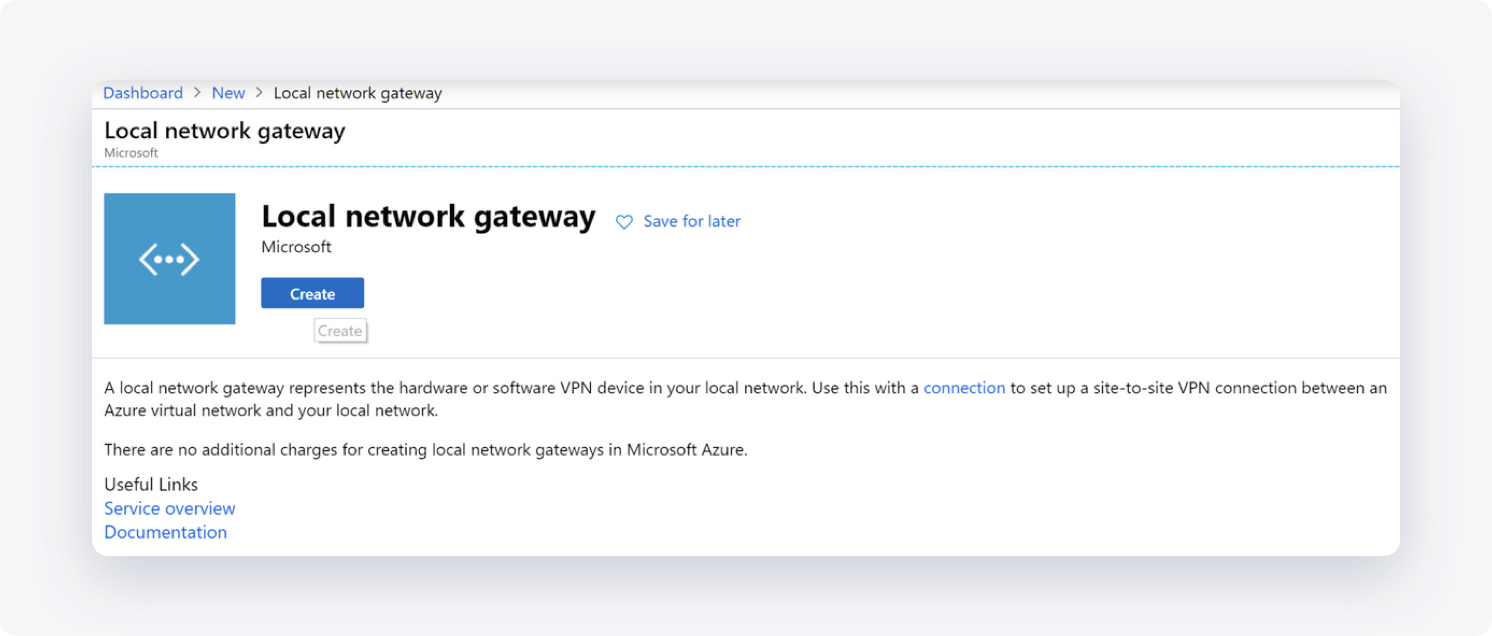
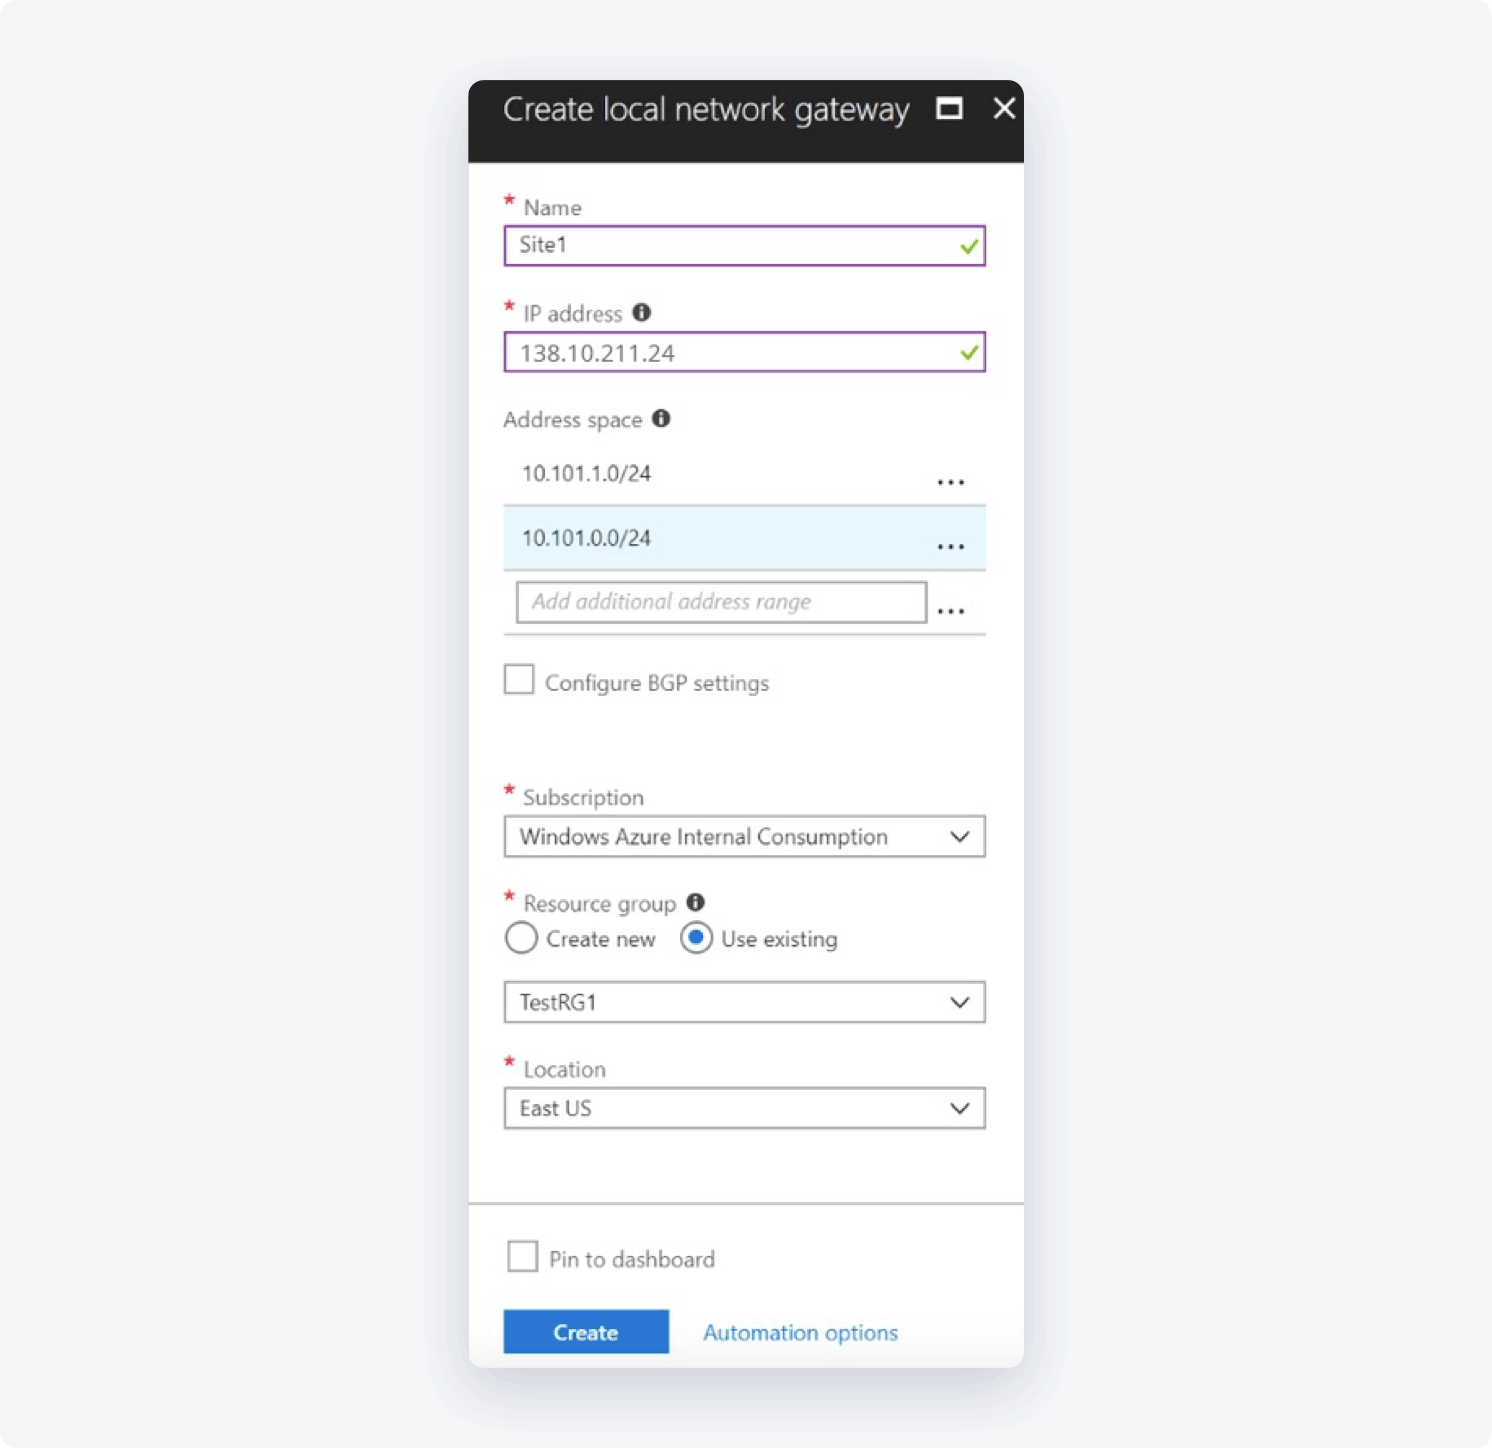
- Select Local network gateway, then select Create to open the Create local network gateway page
- Fill in the fields with the following information:
- Name Your gateway name
- IP address: This is the public IP address of the VPN device that you want Azure to connect to. Specify the IP of your NordLayer server with a dedicated IP
- Address Space: 10.6.0.0/20 (make sure that the ranges you specify here do not overlap with ranges of other networks that you want to connect to)
- Subscription: Verify that the correct subscription is showing
- Resource Group: Select the resource group that you want to use. You can either create a new resource group or select one that you have already created
- Location: Select a location that this object will be created in. You may want to select the location in which your Virtual Network resides, however it is not a requirement
- SKU: Select the gateway SKU from the dropdown. The SKUs listed in the dropdown depend on the VPN you select
- Select Create at the bottom of the page to create the local network gateway
Creating the IPSEC tunnel connection
-
Open your virtual network gateway page
-
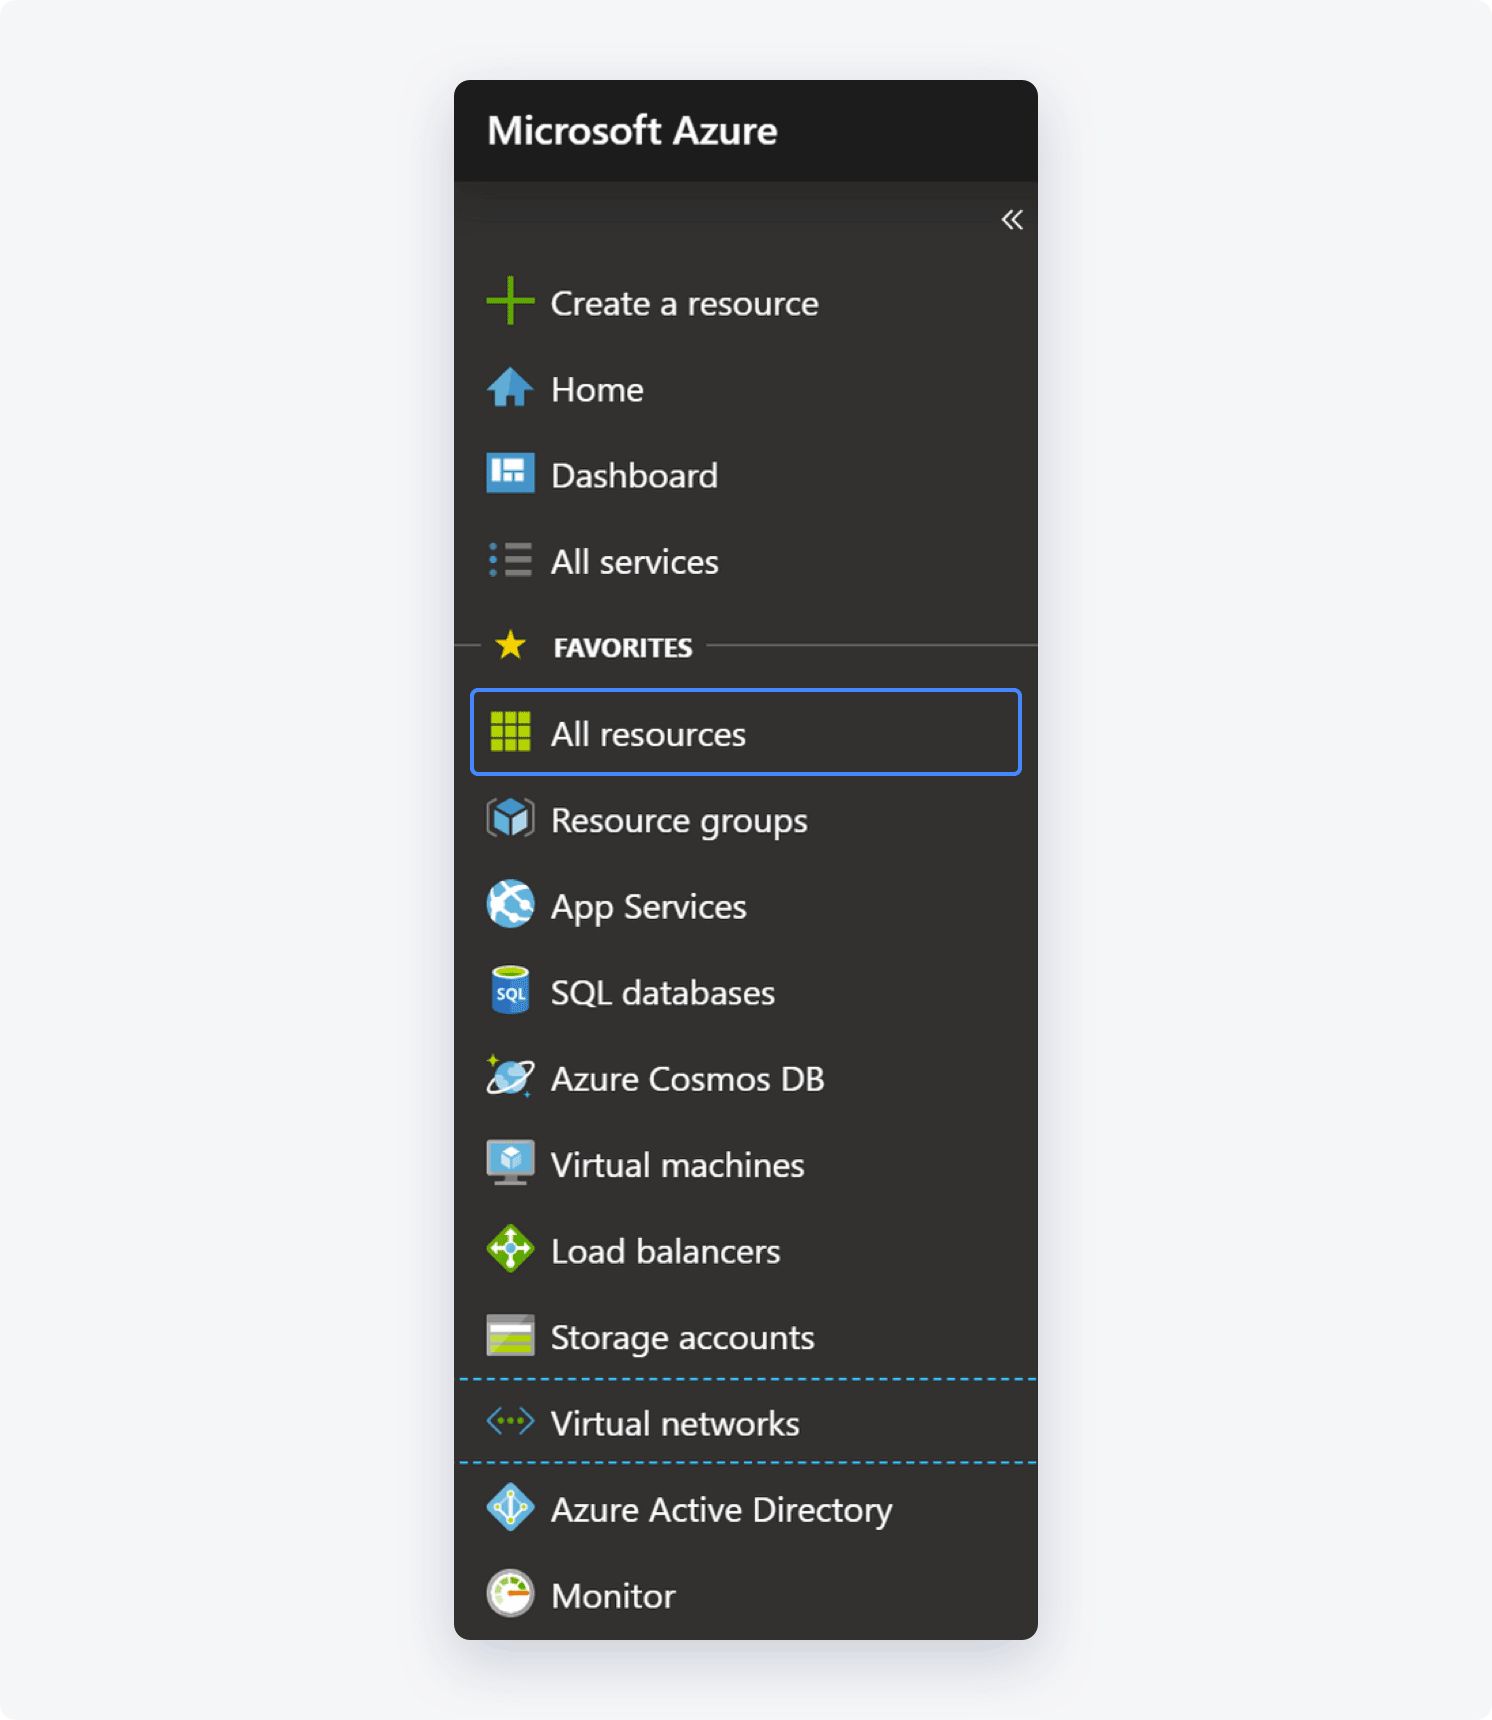
On the sidebar, select All resources
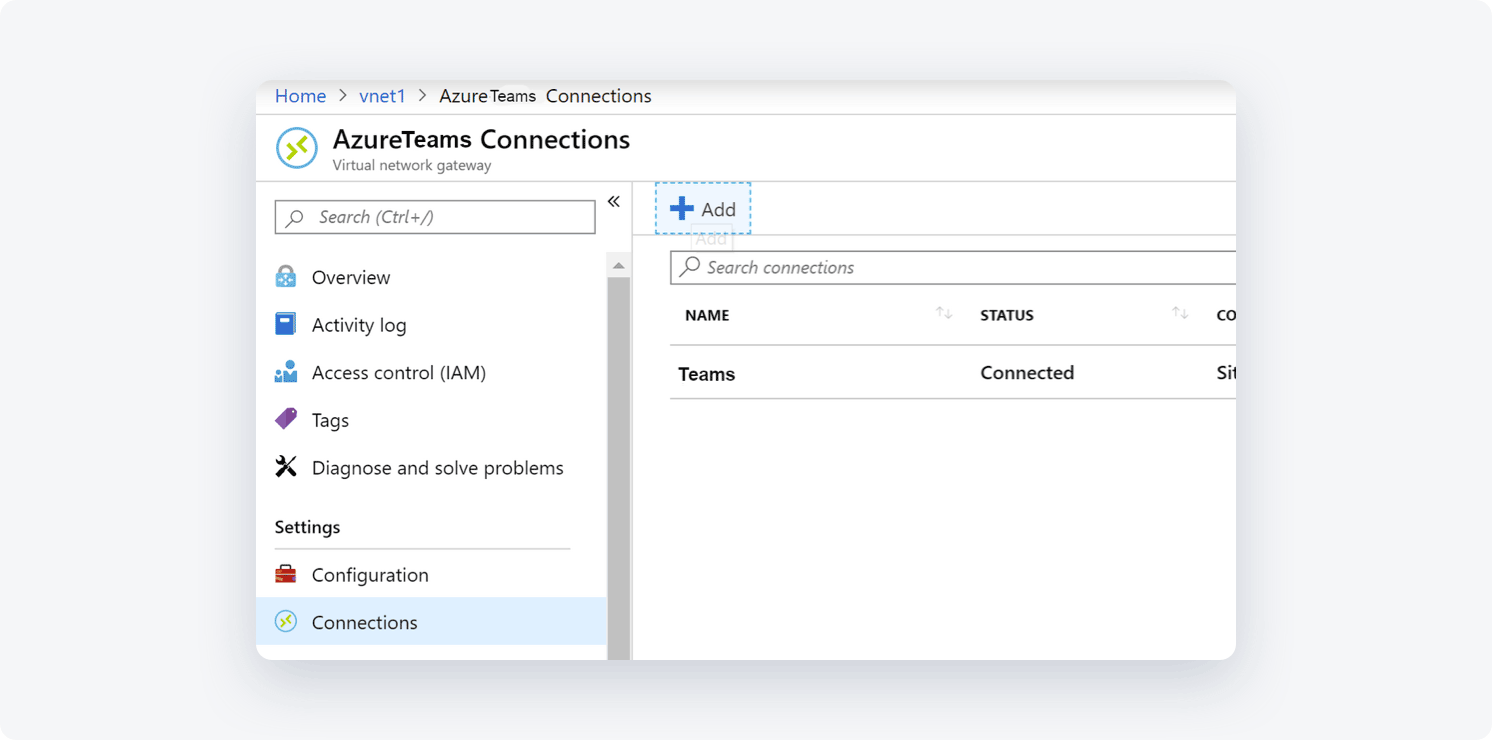
- Select the Local network gateway you created. Once it opens, go to Settings, select Connections, and then +Add
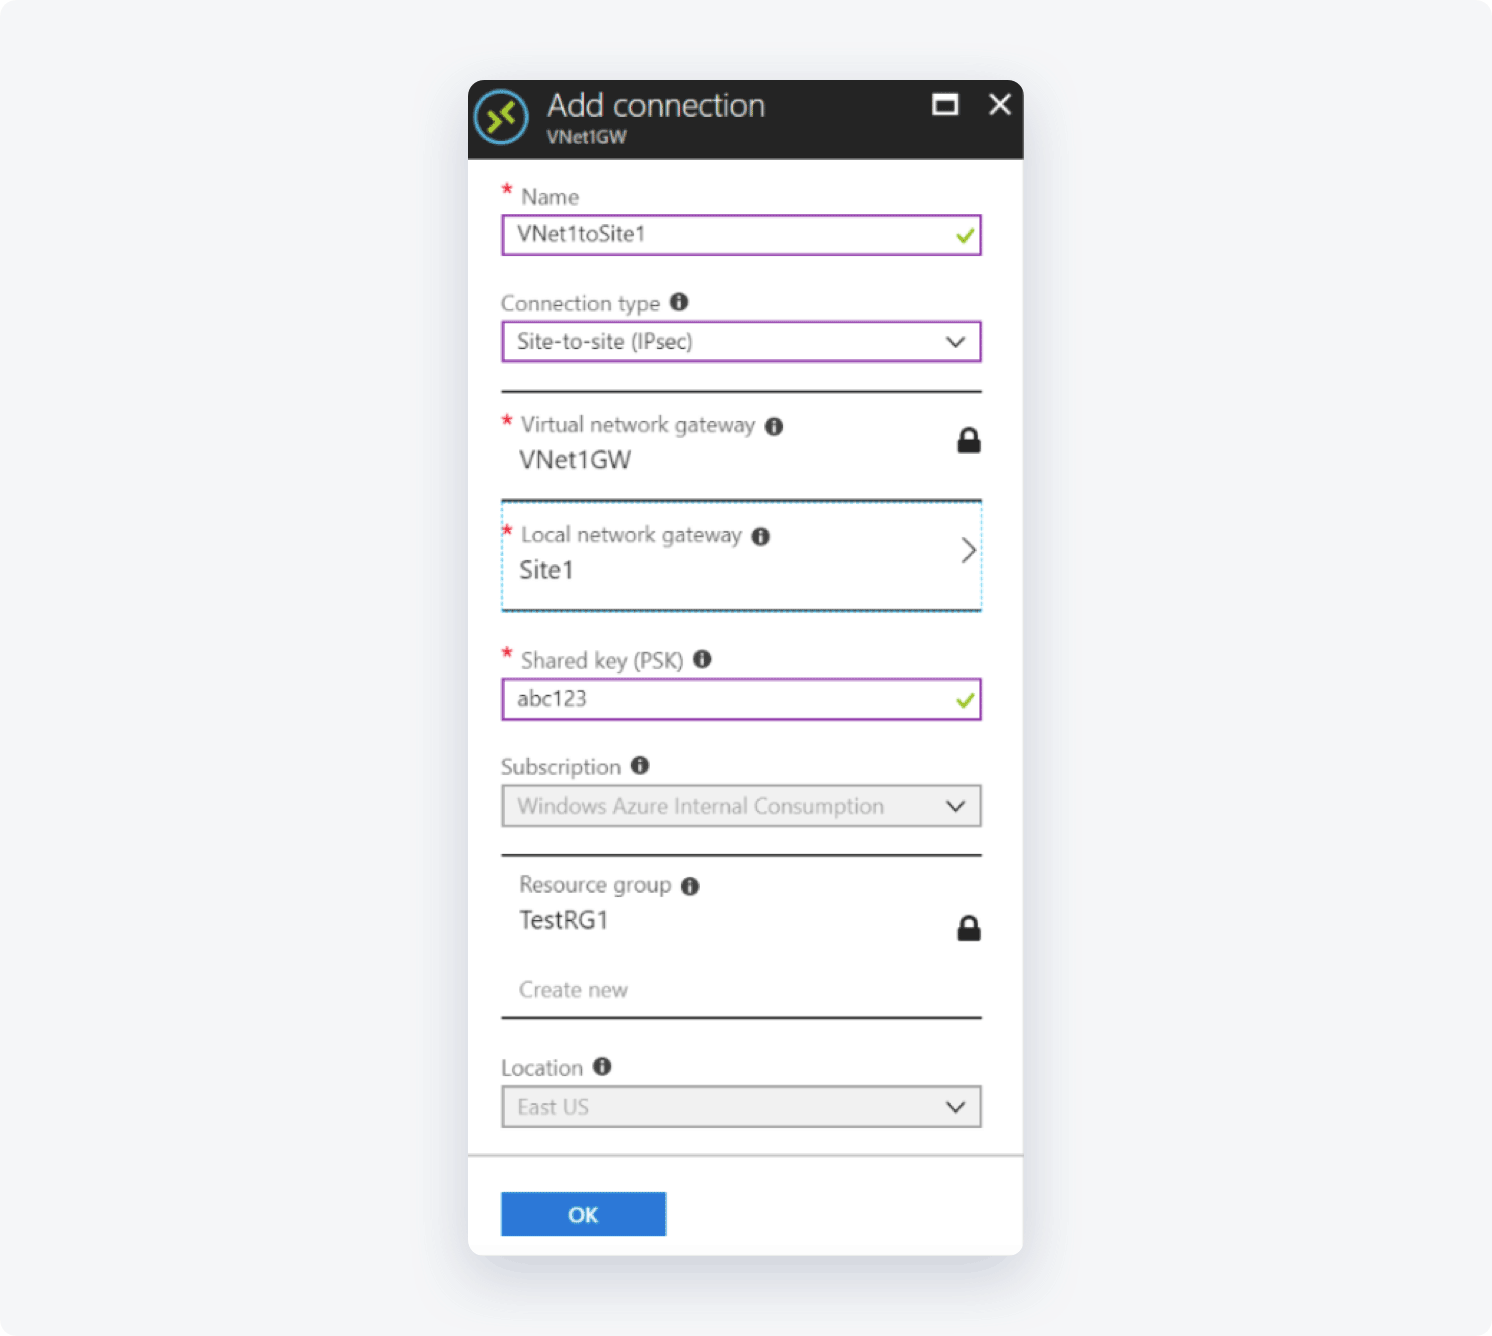
- Fill in the fields with the following information:
- Name: Your connection name
- Connection type : Select Site-to-site (IPSec)
- Virtual network gateway: Since you are connecting from this gateway this value (the IP you received from Azure) is fixed
- Local network gateway: The local network gateway (your NordLayer network address) which you have just created is the fixed value
- Shared Key: the value here must match the value that you are using for your local on-premises VPN device
- The remaining values for Subscription, Resource Group, and Location are fixed as well
- Select OK to create your connection
Verifying the VPN connection
- Go to the Azure Portal and select All Resources
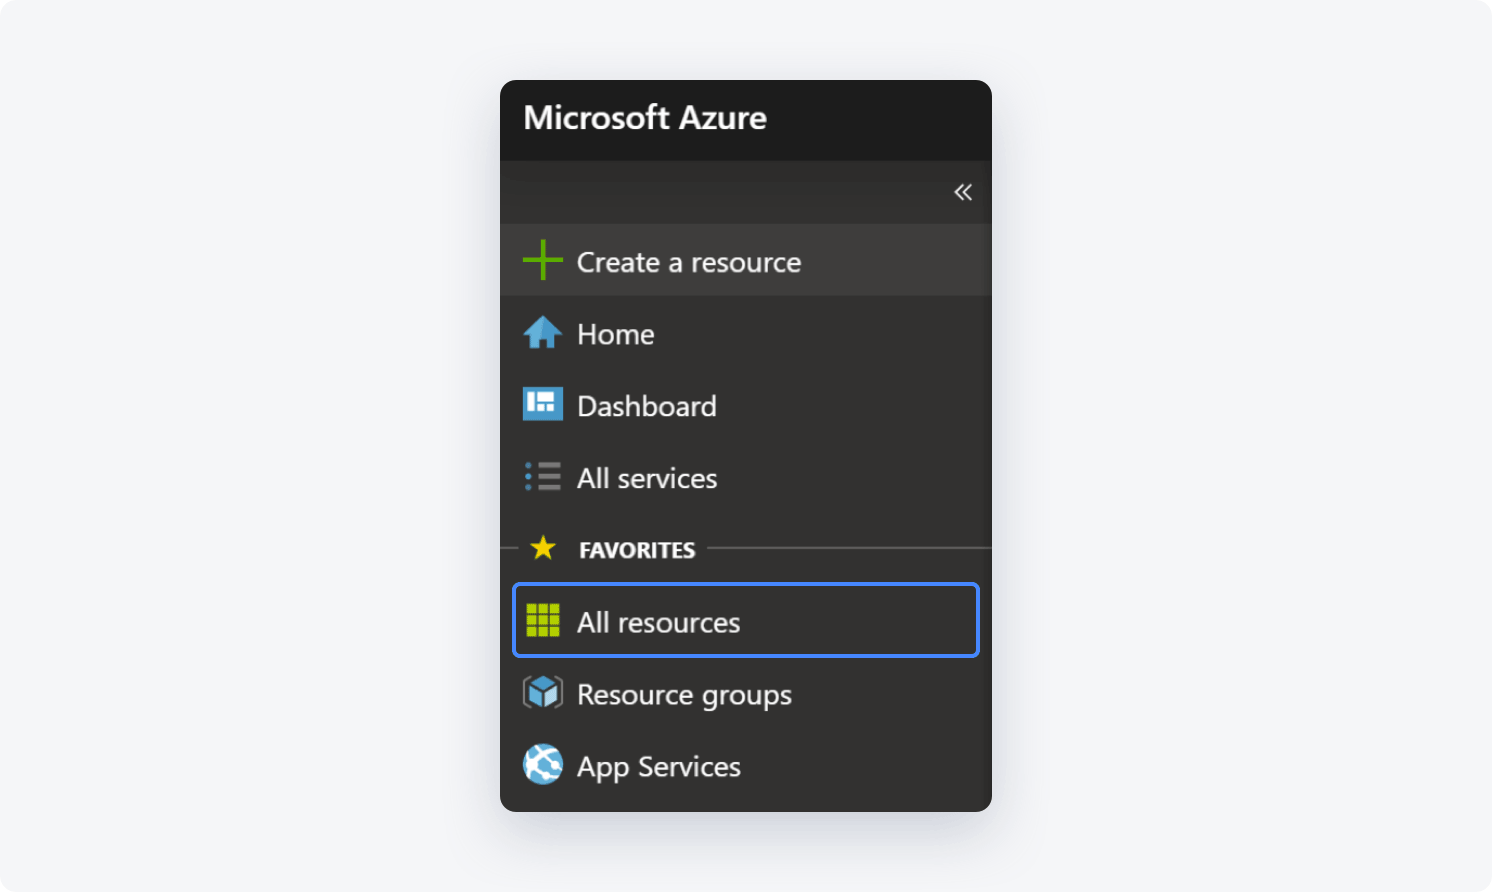
- Select the Virtual network gateway

- Go to Connections
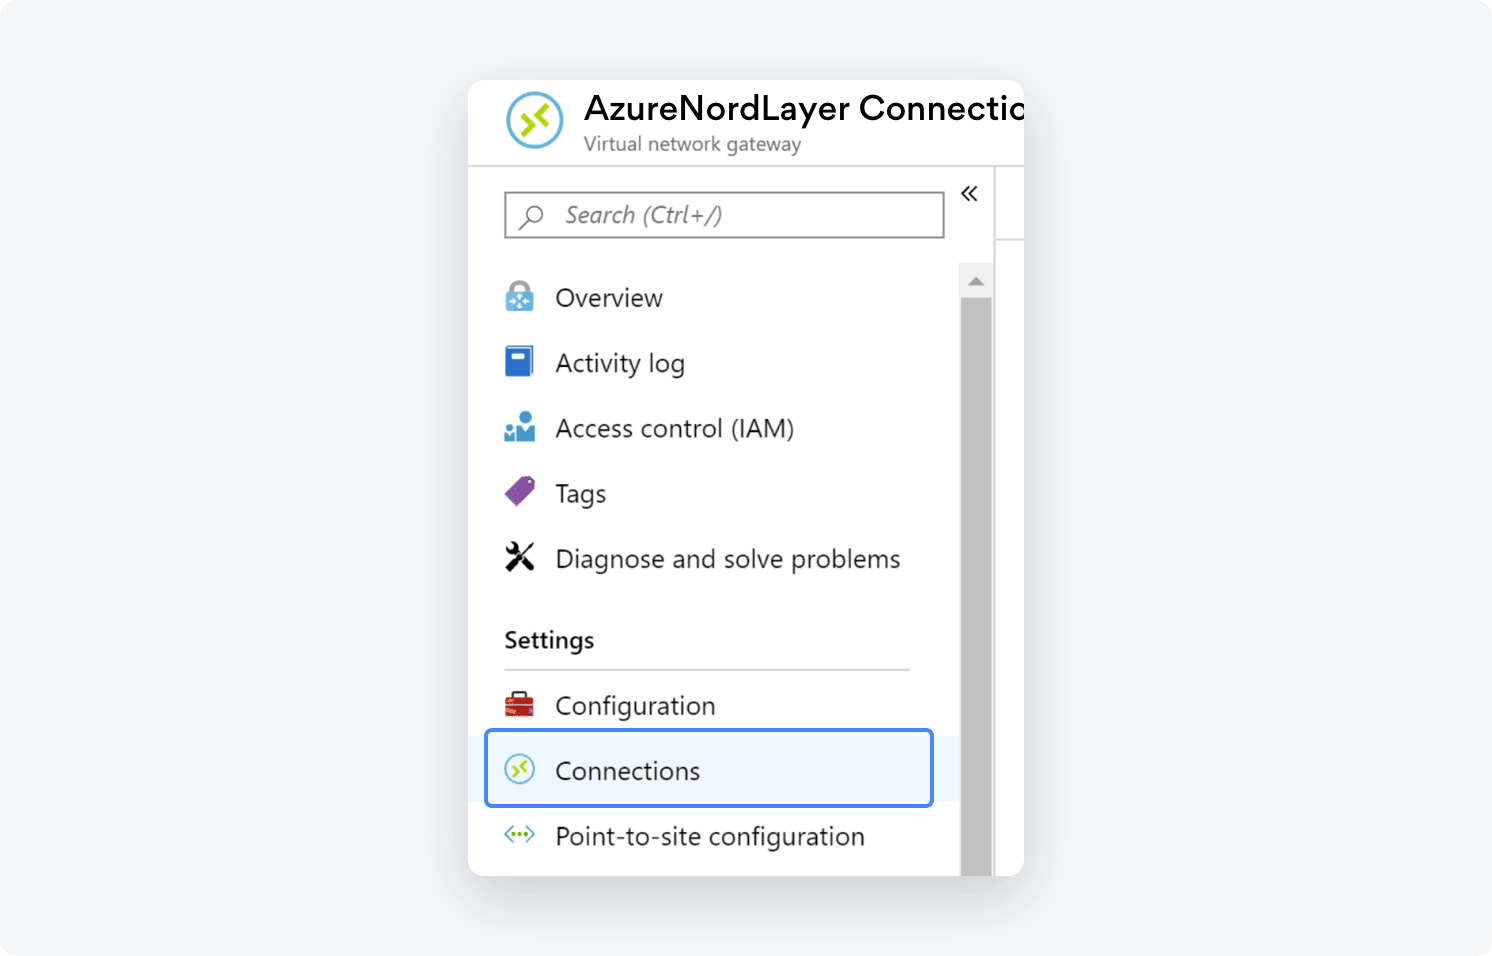
- Select the connection you created

-
Please choose the connection that you recently established and then choose the configuration option.
-
Select the Custom option within the IPsec/IKE policy settings and input the following values to match the values configured with NordLayer:
Encryption: AES256
Integrity/PRF: SHA256
DH Group: DHGroup14
IPsec Encryption: AES256
IPsec Integrity: SHA256
PFS Group: PFS14 (PFS2048)
IPsec SA lifetime in KiloBytes: 102400000
IPsec SA lifetime in seconds: 3600
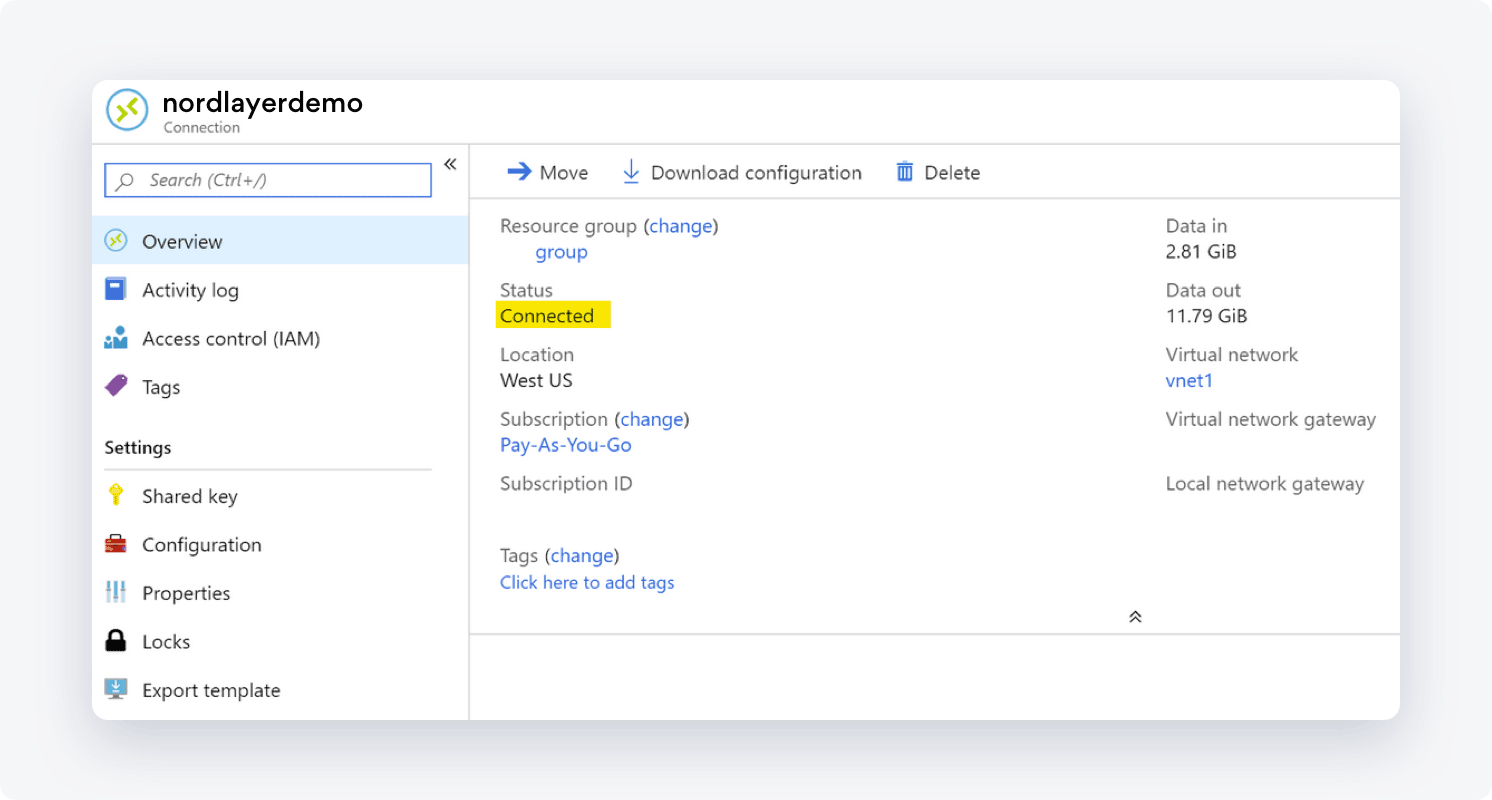
- Under the Overview tab, make sure that the Status is Connected
Ending note:
In order to finalize the site-to-site setup on our end, please provide these values via Site-to-site request from in the NordLayer Control Panel:
- Pre-shared key - you can generate it or we can provide it
- Encryption details (AES, SHA and DH group) - AES256, SHA256 and DH group 14 are recommended (also must support IKEv2)
- Remote gateway/router public IP (must be reachable while connected to the server with a dedicated IP)
- Remote subnet and mask (the subnet is used in your local network)
Note: In case you are experiencing different results, make sure that you have you carefully gone through all the steps. Having said that, in case the issue persists please feel free to contact our 24/7 customer support team.